This post may contain affiliate links. I may earn an affiliate commission if you click on a link and purchase an item at no additional cost to you. All opinions are my own.
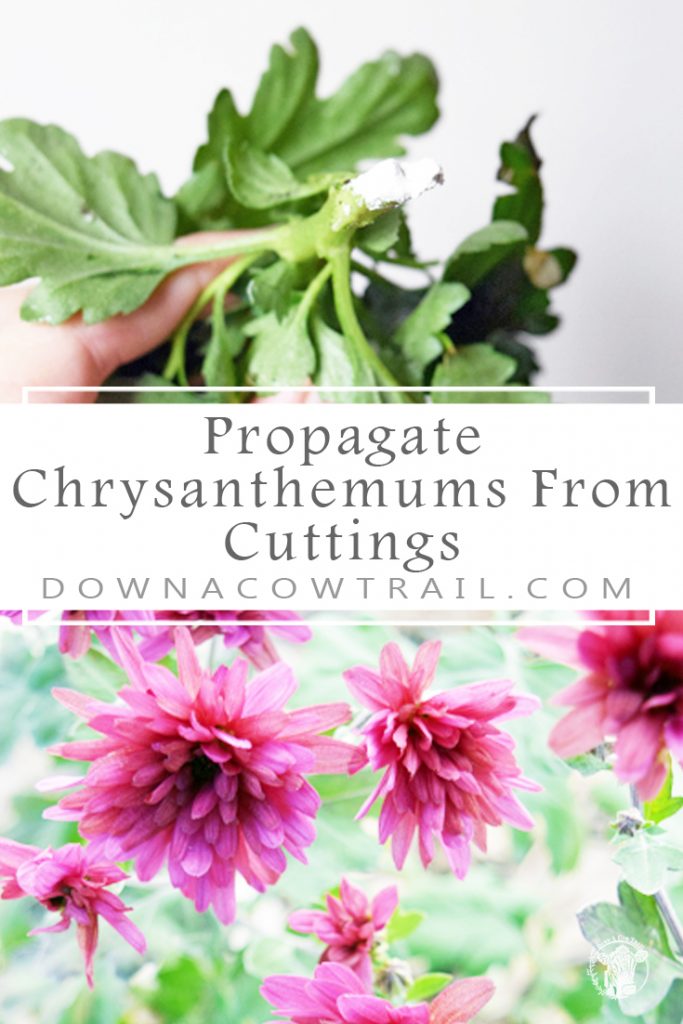
Chrysanthemums. The beauties of fall. They give remarkable color after everything else fades. If you don’t ever seem to have enough mums (which always seems to be my problem!), you’ll be happy to know that it is very easy to propagate chrysanthemums by cuttings!
I love multiplying my plants with this method! It’s free (except the cost of root powder and soil) and you can keep your plants going for generations! I have started roses, hydrangeas, hibiscus, and several other plants this way with much success!
(Before I go on, be sure to follow me on Pinterest and Instagram!)
The Easy Way
There’s a more technical way to propagate mums, which I’ll walk you through, but you can also just clip a branch and stick it right in the soil! This past fall, my neighbor and I took a trip to the big city and went to Home Depot (they have fabulous garden center clearance sales in the fall). I found several mums on clearance.
My neighbor also found a couple different color varieties. We packed her suburban to the brim with plants and other shopping finds. During our shuffling one of her mums lost a little clump of leaves. She was about ready to toss it, but I told her just to pop it in the soil of one of the other mums.
Several months later it was still green and starting to root! Unfortunately, I didn’t bring that little one inside in time before a hard freeze. Gardening fail. If I had, it probably would have survived in my basement over the winter along with my geraniums, mandevilla, and bulbs.
If you enjoy starting plants from seed check out my free printable Seed Inventory Tracker!
On to the more technical way to propagate your Chrysanthemums.
The Technical Way
This is still a very easy method. Taking cuttings off of healthy plants will produce the healthiest babies.
1.) Save cuttings from when you prune back your mums in the summer. You can read that post here.
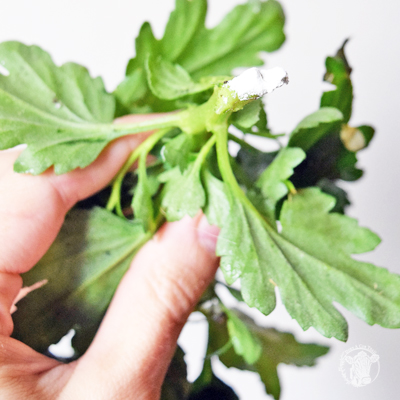
2.) Using a sharp knife, gently make shallow vertical slits in the stem of the branch.
3.) Dip the stem in rooting powder. Tap off the excess.
4.) Gently push the stem into the potting medium. You can use damp potting soil or vermiculite. Be sure to keep the soil moist, not wet. You don’t want the stem to rot if it’s too wet.
5.) Be patient and wait. You’ll know if you’re successful if in a few weeks the start turns brown or stays green!
So there you have it! So easy. Starting plants from cuttings always involves some trial and error. You could try both ways and see which works best for you!
Happy Trails!
Tiffany


 Pressure Canning Carrots – Preserve carrots for years!
 My Favorite Heirloom Vegetable Seeds
 Propagate Lavender from Cuttings
 Hügelkultur