This post may contain affiliate links. I may earn an affiliate commission if you click on a link and purchase an item at no additional cost to you. All opinions are my own.
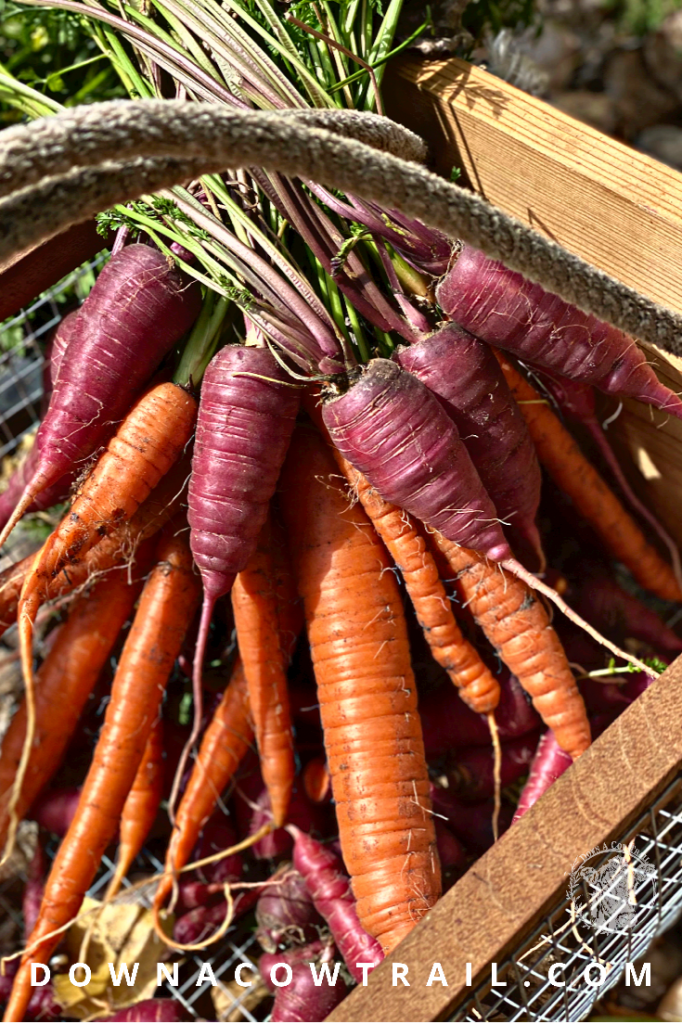
Pressure Canning Carrots adds simplicity to hearty meals. On cool fall days like today, I love a hot bowl of chicken and vegetable soup. Pressure canned carrots are easy to just pop open and add to soups, casseroles, or just plain by themselves.
The prep work of canning carrots is a little more than say dry beans, but the ready-to-go diced carrots when you need them are well worth the effort you put in ahead of time. And they will last for years in the glass jars.
Where to source carrots?
Of course, the best option is always to grow your own! I love growing our own for fresh eating and pressure canning carrots. You can also branch into different colored varieties (atomic red and cosmic purple are fun!) But if you don’t have the space or time, you can buy them in bulk (and organic!) through Azure Standard.
How many carrots do I need?
For this last round of pressure canning carrots I used about 15 lbs of carrots for a dozen pint jars. This is always an estimate.
Wash and inspect the jars
Before you start prepping the beets, wash all jars, lids, and rings with warm soapy water and inspect your jars for cracks/chips. You want to do this carefully as anything with a defect or crack may break in your pressure canner or may not seal properly. You can peel and prep the beets while the jars are sterilizing.
How many jars will fit in my canner?
How many jars you can fit depends on the size of your canner, it also depends on the size of jars you’re using. I like to use wide mouth jars for pretty much everything. They are so much easier to clean, and the food goes in and out so much better. If you use regular mouth instead, you can fit more jars in the canner at once. There are benefits to both and it really comes down to personal preference.
Sterilize
While you are working on prepping your carrots, you can sterilize your jars. Place your clean washed jars in your water bath canner and heat to a boil for 10 min. While some may skip this (because pressure canning does sterilize jars while processing,) I still like to take this extra step to make sure everything is EXTRA clean.
If you are doing a big batch and double layering your canner, then all of your jars won’t likely fit in your water bath for sterilization. I sterilize 8 at a time and then put them in a 200° oven to stay hot while I sterilize the next set of jars.
Wash, Trim, and Peel the Carrots

NOTE: Carrots can stain your fingernails. If that bothers you, wearing gloves isn’t a bad idea.
Rinse your carrots well. Try to wash off any leftover soil. I prefer to rinse my root vegetables off outside with a hose using my Handmade Cedar Garden Trug. Trim the tops and root ends off of your carrots. Peel them with a potato peeler. I prefer to use a serated peeler, as it doesn’t make the carrots slippery – less accidents!
Slice the Carrots
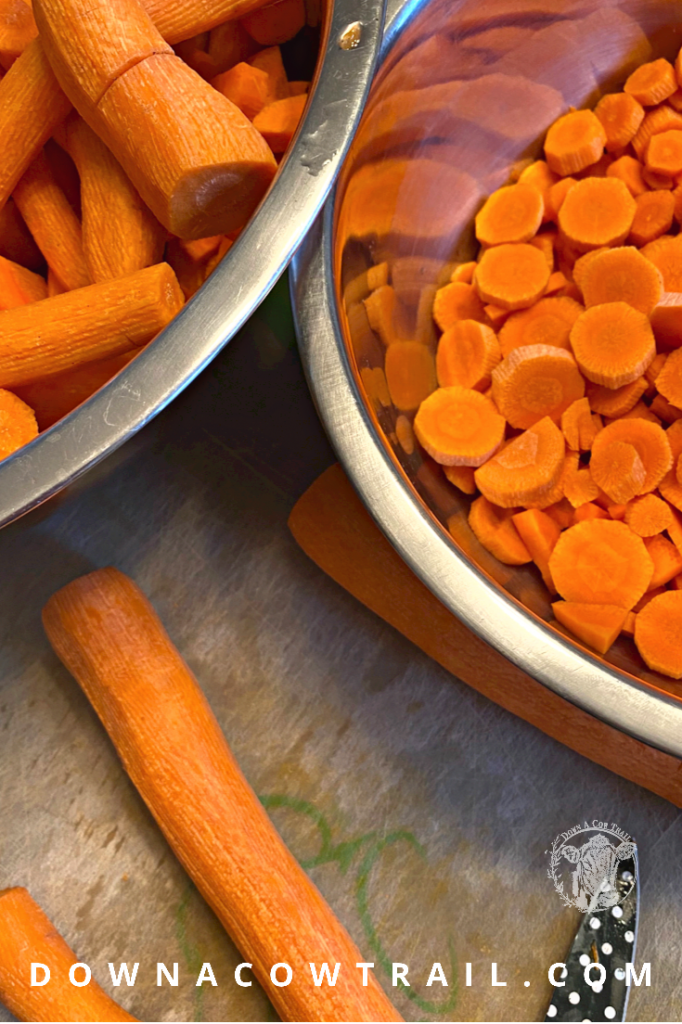
For pressure canning carrots, I like to slice them into rounds about 1/8″-1/4″ thick. If you have big carrots you can slice lengthwise in half or in quarters and then cut into smaller pieces.
Heat Rings and Lids
Add water to a medium stainless steel pot of water and bring to a boil. Add your rings and lids to this to sterilize (Same thing – I may be overly cautious, but better safe than botulism!) You will also use this water to fill your jars.
If you’re adding salt (not necessary, but I always do) now is the time. With your freshly sterilize hot jars sitting on a towel on the counter (don’t burn your hands!), add 1/2 tsp canning salt to each pint, or 1 tsp to each quart.
Add the Carrots
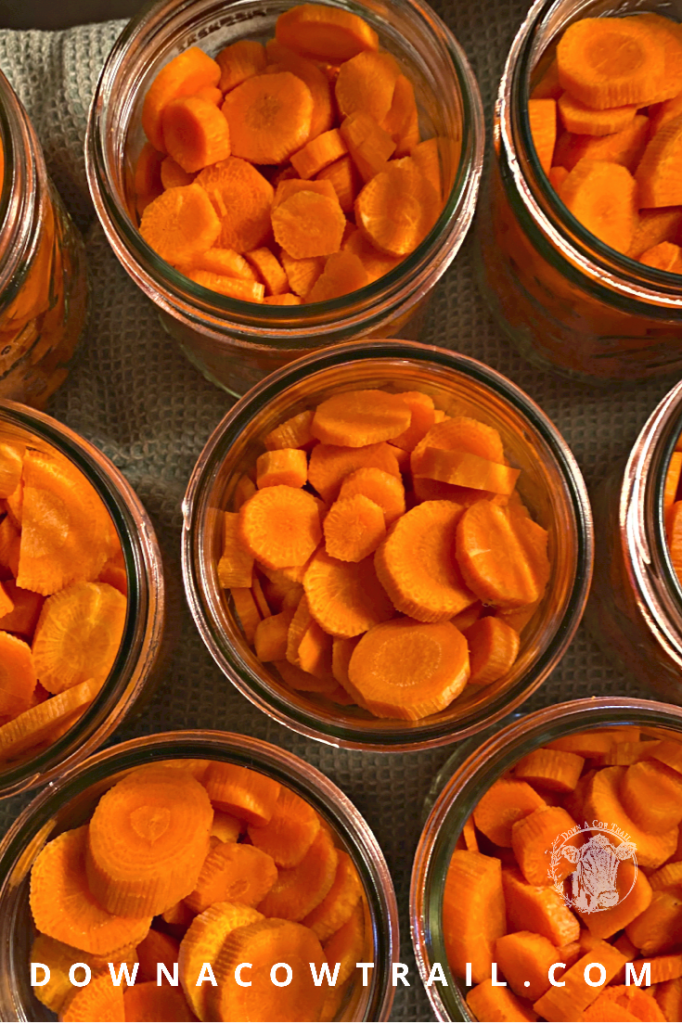
Place your funnel on top of each jar and scoop the carrots into the jars leaving 1” headspace. Headspace is very important for proper sealing, especially with certain foods that can expand during processing. Too much headspace and the extra air will create a problem, not enough airspace and you may end up liquid/food trying to escape out of the top and not a proper seal.
Add the Water and Salt
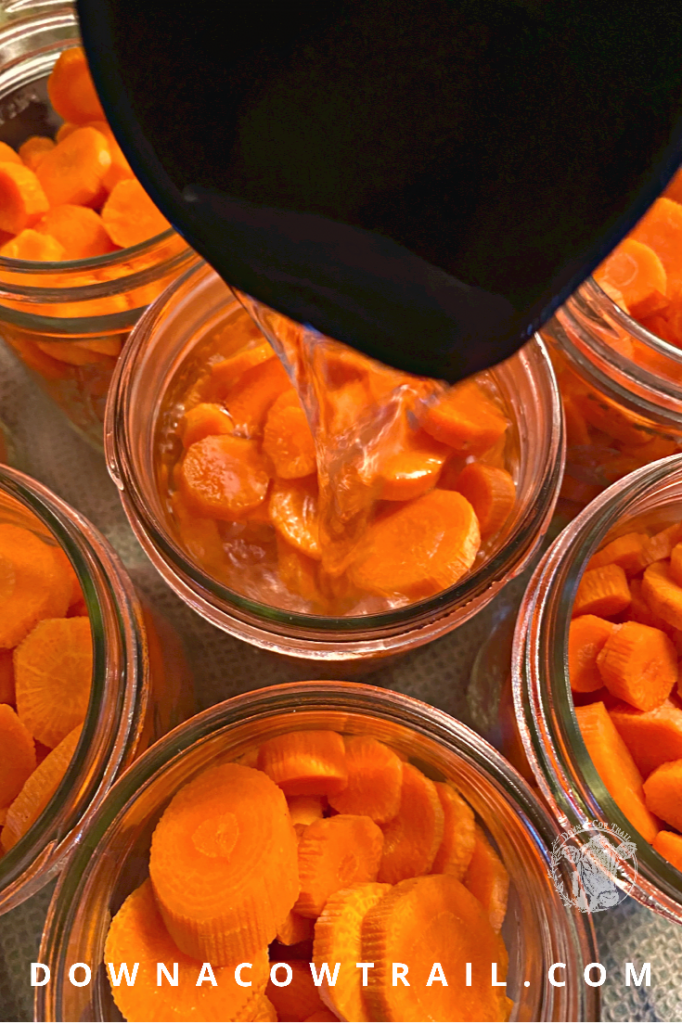
After you’ve added all your carrots, ladle the hot water into the jars, maintaining that 1” headspace.
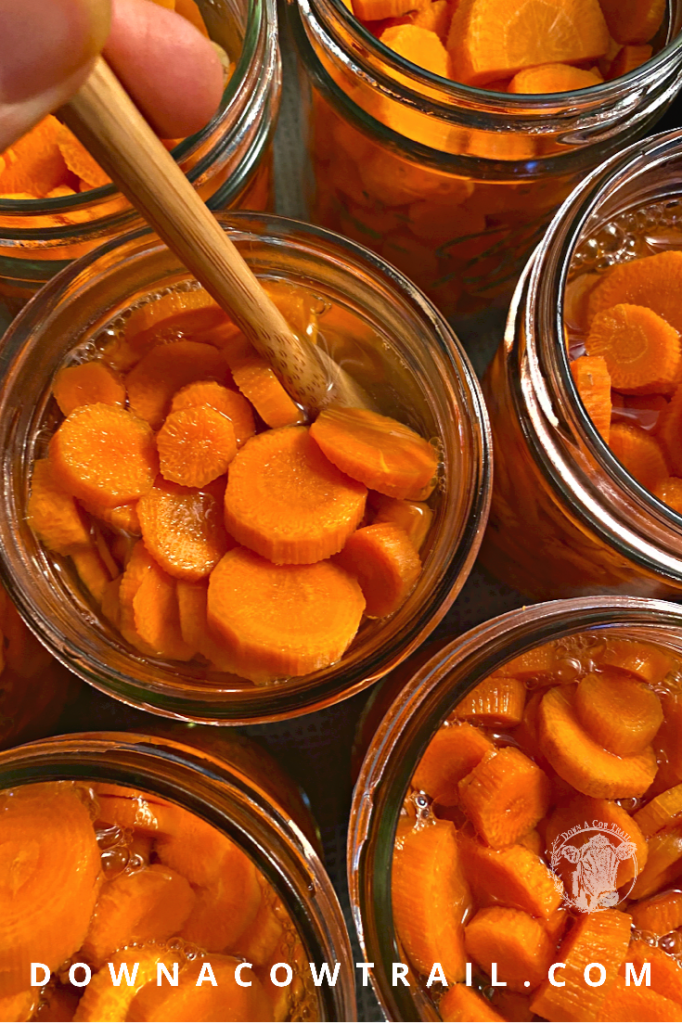
Release air bubbles with a plastic or wooden tool (I use the end of a small wooden spoon) and wipe the rim.

Wipe each rim with a clean cloth making sure there is no residue on the edges. I usually dip my towel in the boiled water to clean the rim.
Lids and rings
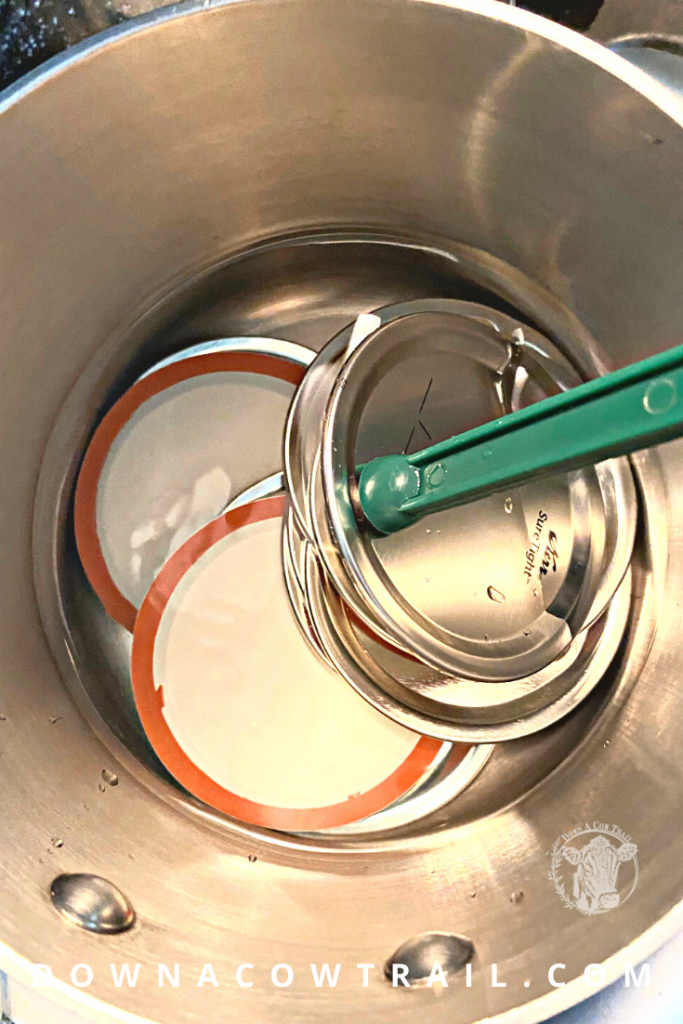
Now it’s time to put on the lids. Using your magnetic stick, lift each lid and ring out of the hot water and place on the jars screwing down till ‘fingertip tight’ meaning don’t crank on it. It’s important to do it fingertip tight because during the pressure canning process air does need to be able to escape for proper sealing.
Prepare your Canner
Your canner should have at least 1” of water in the bottom. I’d measure to make sure. You don’t want your canner running dry during processing! But also don’t overfill – the bottom jars need to be sitting in water, not covered in it. Refer to your canner’s instructions if you’re in doubt!
Set the Jars in the Canner
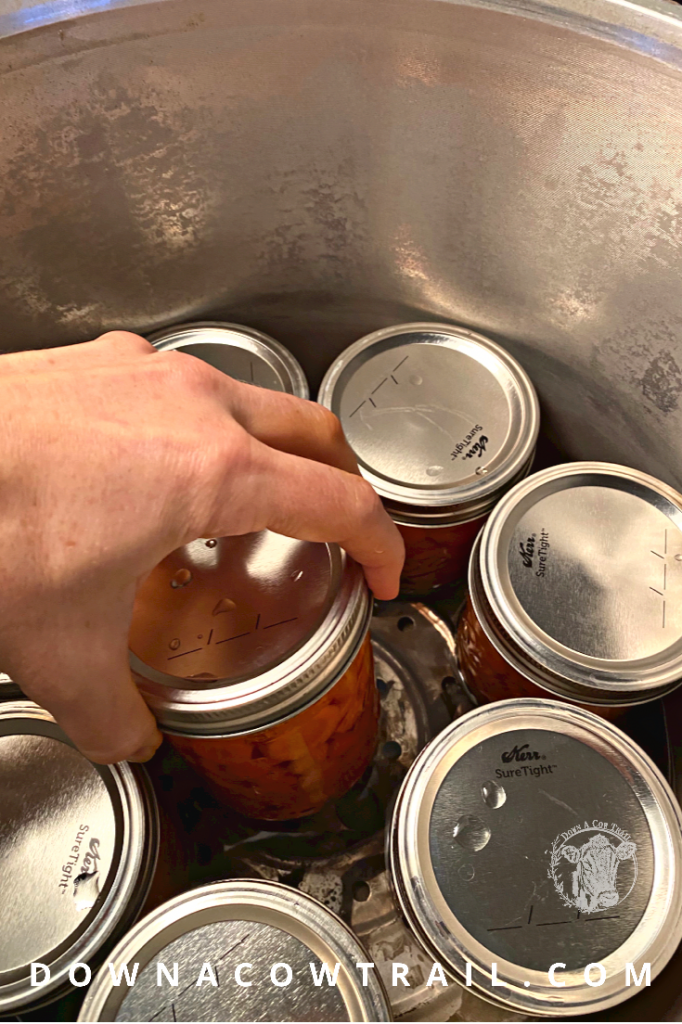
Place each jar carefully in the canner. Make sure you have the bottom tray in place. The jars should never sit directly on the bottom of the canner. If doing two layers, place the second tray on top of the first layer of jars and the carefully place your jars on top.
Seal the Lid
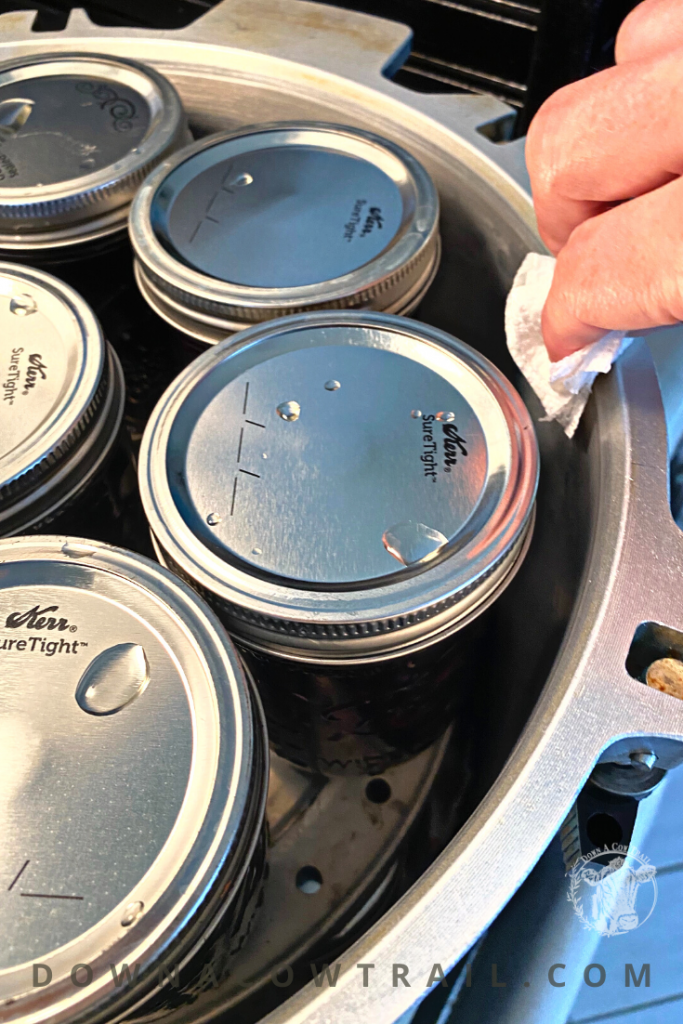
Now it’s time to seal the lid! My All-American canner does not have a rubber gasket. It’s metal on metal. I always wipe a little olive oil on the rim to make sure there is a proper seal (my mother always has done this, so I do as well!)
Check the Vent
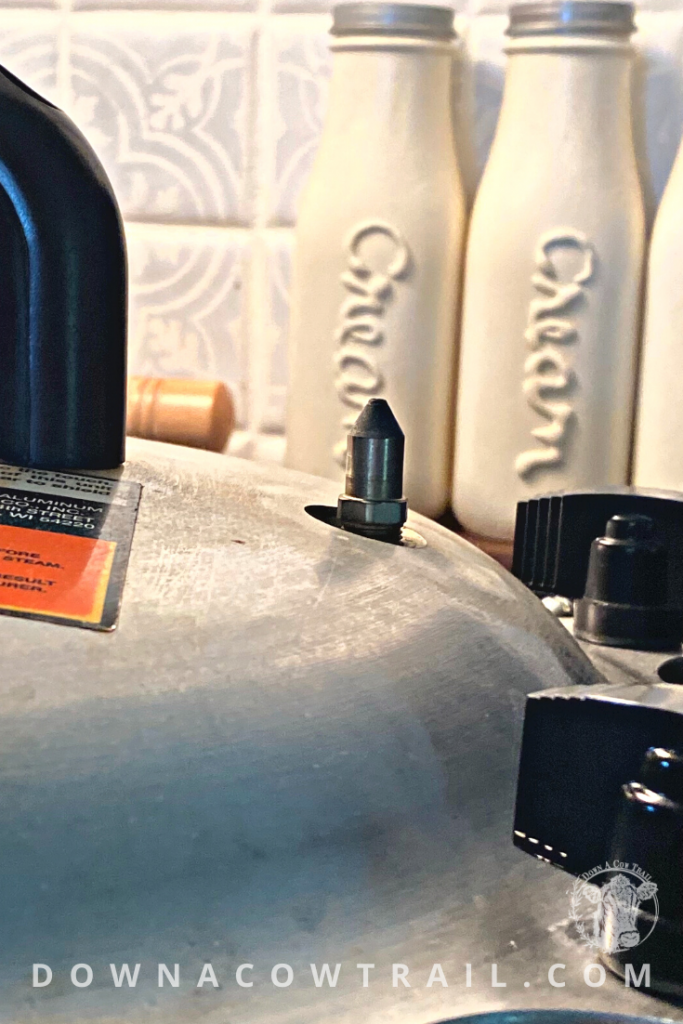
Check the vent on the lid and make sure it is clear from any buildup (you should be able to look through it and see light.) Place the lid on and tighten the fasteners opposite each other (don’t tighten around in a circle, you want the lid to be as level as possible.) Make sure you don’t have the regulator weight on the vent, it needs to vent freely at first.
Note: your canner may have a different way of fastening the lid. ALWAYS read the instruction manual before using your pressure canner!
Vent First
Turn on the heat and watch (or rather listen to) the vent. Once you see (and hear) a steady stream of steam coming from the vent, set a timer for 10 minutes and let it vent.
Add the Regulator Weight
After 10 minutes, place the regulator weight over the vent using the appropriate pressure for your altitude (you can find this in your canner’s instruction manual.)
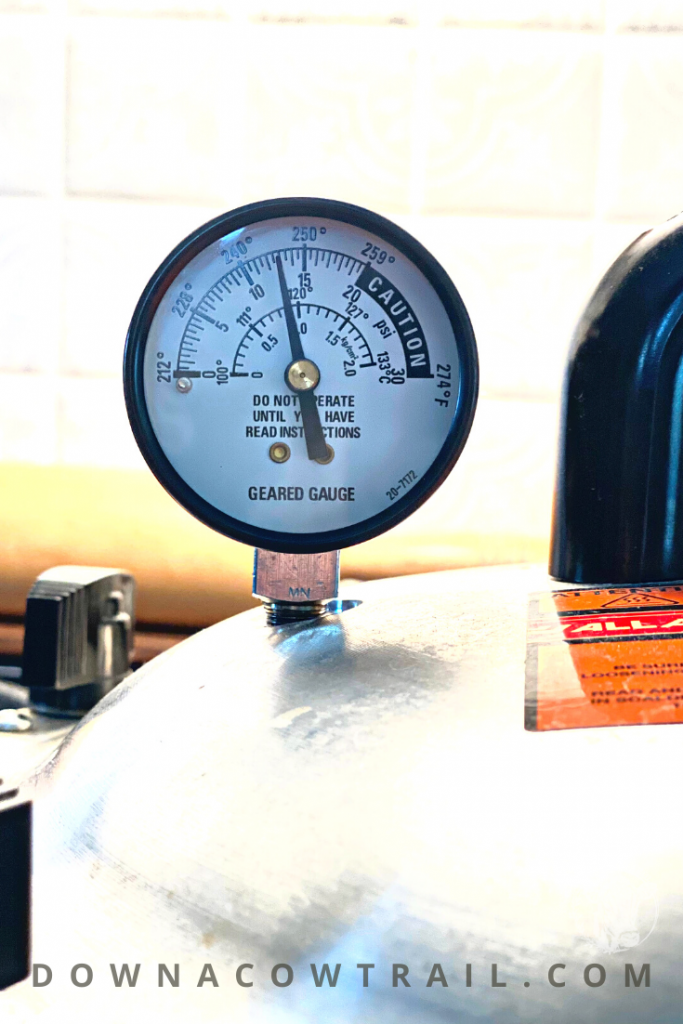
Once the canner reaches the correct pressure the weight will start to jiggle. Start your timer now. For pressure canning carrots it is 25 min for pints or 30 min for quarts.
I usually turn the heat down a tad at this point. You want the weight to jiggle once every minute or so, but not constantly. We are over 1,000 above sea level, so I use 15 lbs of pressure. On the gauge I like to keep it halfway between 10-15 lbs, never letting it drop below 10 and definitely never letting it get above 15 (you don’t want to blow up your canner!)
Never leave your canner unattended!
I NEVER go out of earshot of my canner while it’s processing. Find something in the kitchen to do while you’re waiting or somewhere that you can hear the weight jiggling (no vacuuming, etc. you need to hear it!)
I usually have to adjust the temp down every so often as the pressure increases. This may sound scary, but after a few rounds of canning you’ll feel more comfortable, I promise!
Turn off the heat
When it is done processing, turn off the heat and let it sit. Do not remove the regulator weight at this point, leave it on. It needs to come down in pressure very slowly.
Now you can safely walk away for a bit and know you’re almost done!
Open the canner
Once the gauge reads zero, using an oven mitt (that baby is still piping hot!) remove the weight from the vent and let it finish venting. Once there’s is no more steam coming out of the vent, with your oven mitts still on, carefully unscrew the fasteners. Open the lid away from you as the steam is very hot.
Remove each jar with your jar lifter, and place them on a clean towel, being careful not to bump them together. The liquid is still boiling inside the jars, so make sure to keep little hands away!
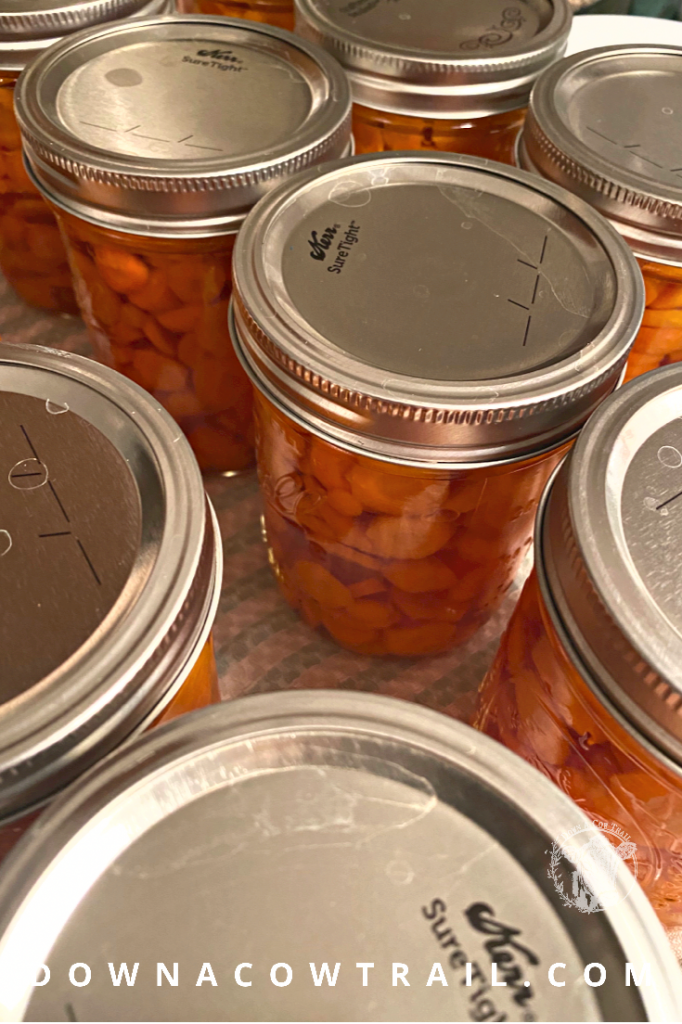
Let the jars cool for 24 hrs then remove the rings and label! As you’ll see in my other posts about pressure canning, the process is very similar. It’s the prep work that usually differs the most. Most importantly, don’t be intimidated by pressure canning carrots! Once you do it a few times you’ll feel so much more comfortable!
Note: I always reheat my pressure canned foods before eating, just to be on the safe side!
You’re done! Congrats! Enjoy those lovely tender carrots!
Until next time! Happy trails!
Tiffany
 Pressure Canning Beets – A Simple Guide
 My Favorite Heirloom Vegetable Seeds
 Propagate Chrysanthemums From Cuttings
 DIY Chicken Coop Project – Part 1
Leave a Reply