This post may contain affiliate links. I may earn an affiliate commission if you click on a link and purchase an item at no additional cost to you. All opinions are my own.
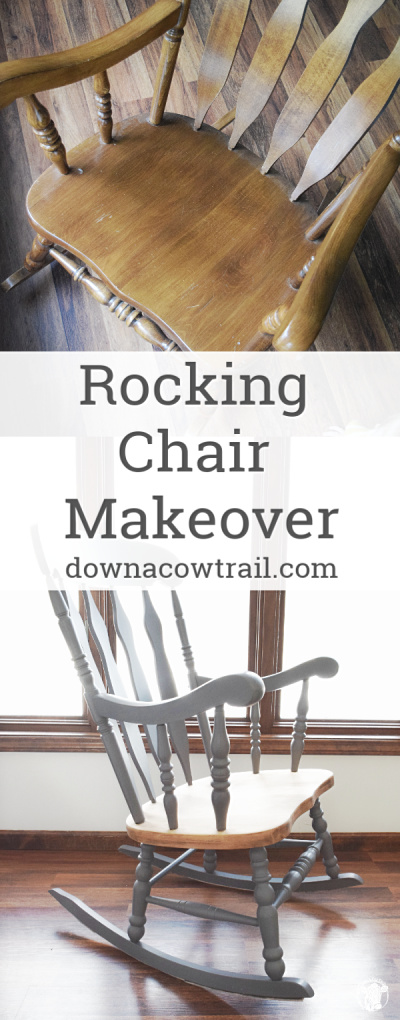
Don’t you just love the sound of an old creaking rocking chair? I do, especially when I’m rocking babies. Last year I gave a beautiful vintage rocking chair a makeover. It took me a while to actually start the project.
In fact, I had been thinking about it, but the task of sanding down the chair and then refinishing it seemed so daunting with a little baby that I moved on to other projects. In my husband’s words: “So you decided that the rocking chair was too great a task so you decided to re-texture our ceilings (they were popcorn), paint them and repaint all of the walls?” Yes, not sure where logic was, but that’s for another post…
(Before I go on, be sure to follow me on Pinterest and Instagram!)
Junk Jaunt
When I first moved to Nebraska, I was introduced to many new things – Husker Football (cue tunnel walk song), humidity, sand burrs, the list could go on and on, but I’ll stop at Junk Jaunt. Junk Jaunt is basically a (almost) 500 mile garage sale full of antiques, garage sale items, and you guessed it! Junk!
There are over 600 vendors and all of this happens in just three days late September. I love a good bargain, although I am terrible at bartering. I would probably end up paying more than the sale sticker price if I tried entering into a bartering conversation just because I’d feel bad. A salesman’s favorite kind of person.
My Special Find
Our town happens to be along the route, so it’s a great excuse to just spend a day in town. Last year, my friend and I set up a “vendor” spot with the hopes of selling some garage sale stuff. I think I ended up breaking even with what I sold and what I bought.
My greatest find was a rocking chair my friend was selling. I sat in the chair at Junk Jaunt and rocked my three week old baby (aww such sweet memories).
The Stories It’d Tell
That chair had seen a lot. It had originally belonged to my friend’s sister who passed away too young from cancer. I think about her when I look at the chair. It has some scratches and scuffs showing the love of my friend’s two children.
I was so thankful that I knew where it came from. Somehow it makes me more fond of something when I know the history behind it, and to know that I can cherish it the same way.
After much debate in my head (and repainting the whole inside of my house, my ceilings were now beautiful after all), I decided it was time to give this old rocking chair a little love.
The Process
1.) Sand the seat.
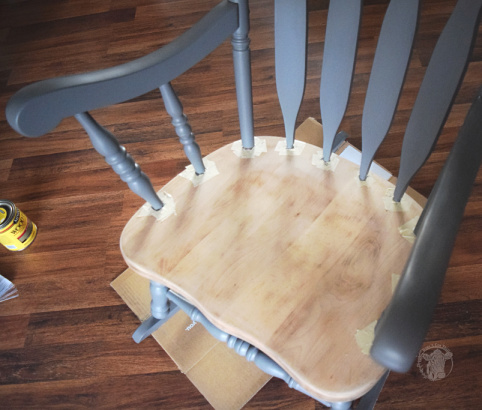
First thing I did was take the chair outside (Take the chair to a place you don’t mind getting dusty) and use my reliable little Ryobi palm sander to sand down the seat.
I always tend to do these projects when its bitter cold. Maybe because I get restless being inside so much and projects keep me busy. I did it in sections. Taking breaks every few minutes to go back inside and warm up my hands. I didn’t sand anything else, just the seat – top, bottom, and sides.
Once I sanded it down and reached all of the places my palm sander could, I hand sanded around the dowels. It’s usually at this point in the project when my fingers are stinging from cold that I wonder why I didn’t just paint the whole thing. But After it was all done it was well worth the pain.
2.) Paint the Chair.
I dusted off the chair outside with a damp cloth and brought it inside. I didn’t want to paint it outside since it was so cold. I’d definitely have problems with paint consistency.
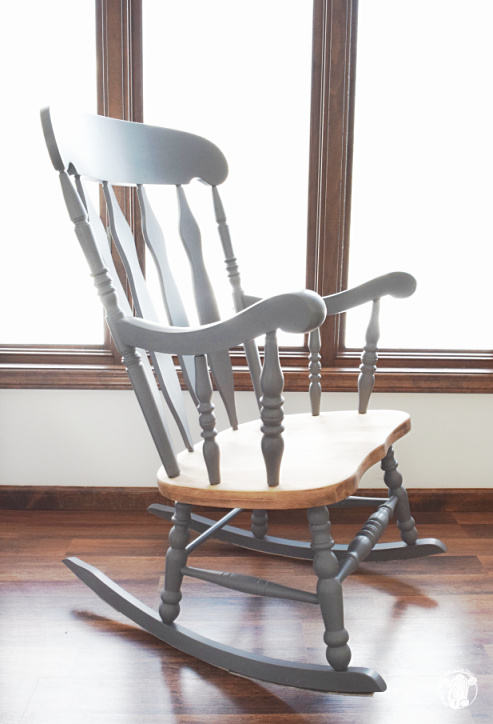
Since my daughter was still pretty little, I didn’t want toxic paint fumes in the house. General Finishes has really nice paints without the toxic smell, in fact, even though I was really close to the paint getting into the little crevices, I didn’t smell it at all. I used General Finishes Milk Paint in Driftwood for the rest of the chair.
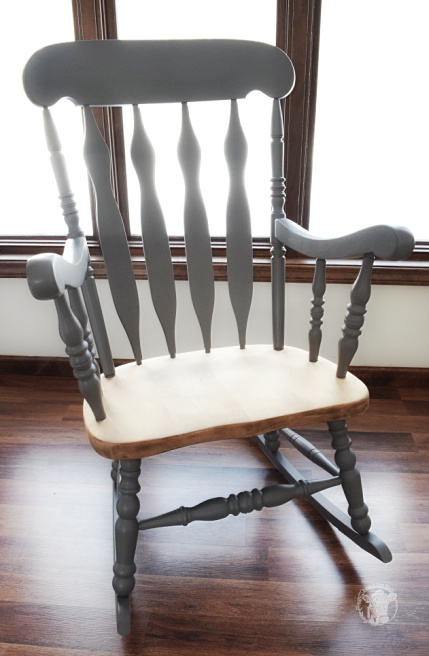
It went on so well without even sanding down the chair’s finish. I only had to paint one coat! It has been over a year now since I painted this chair and it still looks just as beautiful! In fact, the picture below is what it currently looks like. It has a nice eggshell finish. It’s easy to clean, but doesn’t have too much sheen.
3.) Stain.
For this I ended up using Minwax’s Penetrating Stain in Driftwood Grey. I used a wet rag and just dipped a small part into the can. I wiped it on quickly and made sure to smooth out the color. It was a very subtle stain which was perfect. The smell was pretty bad, so it had to get locked in a room for a few days while it “off-gassed”.
In hindsight, I’d probably use a General Finishes stain. I really am happy with their products. After this chair project, I stained my kitchen cabinets with a General Finishes gel stain and it was wonderful. No smell! That story in another post.
With a little work and time, this chair was given new life. It is beautiful and was a fun quick project.
Have fun making old things new!
Happy Trails!
Tiffany
 DIY Chicken Coop Project – Part 2
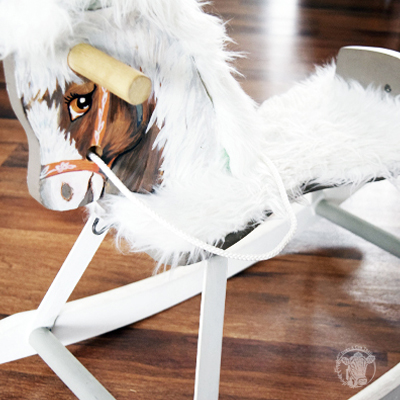 DIY Vintage Rocking Horse Makeover
 3 Reasons Why You Need Ceramic Eggs in Your Coop
 Grow Great Chrysanthemums
This is really beautiful!
I don’t see what finish you applied to the seat. I’m very interested in doing my chair and keeping the chair like this!
Thank you!
Hello Theresa,
Maybe you have already found a finish. I used Minwax’s Penetrating Stain in Driftwood Grey for the seat, and I didn’t seal it with anything. It has held up beautifully and has no stains or wear spots even though it’s in the main living room. I will need to apply a second coat of paint to the arms just where the paint has worn, but overall everything has held up very well! Hopefully that helps!
Did you use wax or a seal on the seat, paint or both?
I used Minwax’s Penetrating Stain in Driftwood Grey for the seat, and I didn’t seal it with anything. It has held up very nicely over the years!