This post may contain affiliate links. I may earn an affiliate commission if you click on a link and purchase an item at no additional cost to you. All opinions are my own.
A consistent daily milking routine is essential to keeping a happy family milk cow. Every morning I gather my milking supplies and head out to say good morning to my sweet Molly, but my daily milking routine starts even before that.
If you’re looking to purchase a new milk cow, check out my guide to buying a family milk cow!
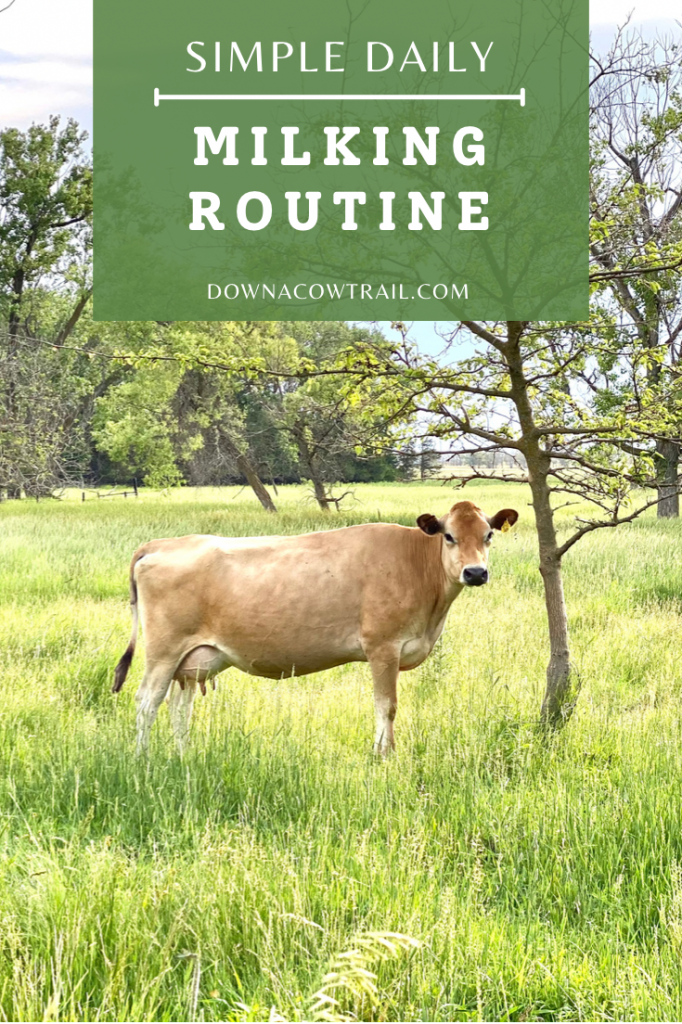
Daily Milking Routine
My daily milking routine starts the evening before. I lock Molly’s calf, Penny, in a small pen so she can’t nurse on Molly all night. A two-fence separation between them is important because otherwise she can nurse right through the fence (trust me, I know!)
When Molly first freshened (calved), baby Penny was with her 24/7. I tied her up while milking her momma for two reasons: first, to keep her out of my milking equipment, and second, for her to learn to stand when tied.
Now that she’s 6 months old, she is big enough that she doesn’t need to nurse during the night and she’d take it all leaving none for me!
Don’t forget to follow along with me on Pinterest and Instagram!
In the evening, Molly is fed rolled corn, cake (a protein cube), and alfalfa. Penny the calf is fed hay/alfalfa to munch on overnight.
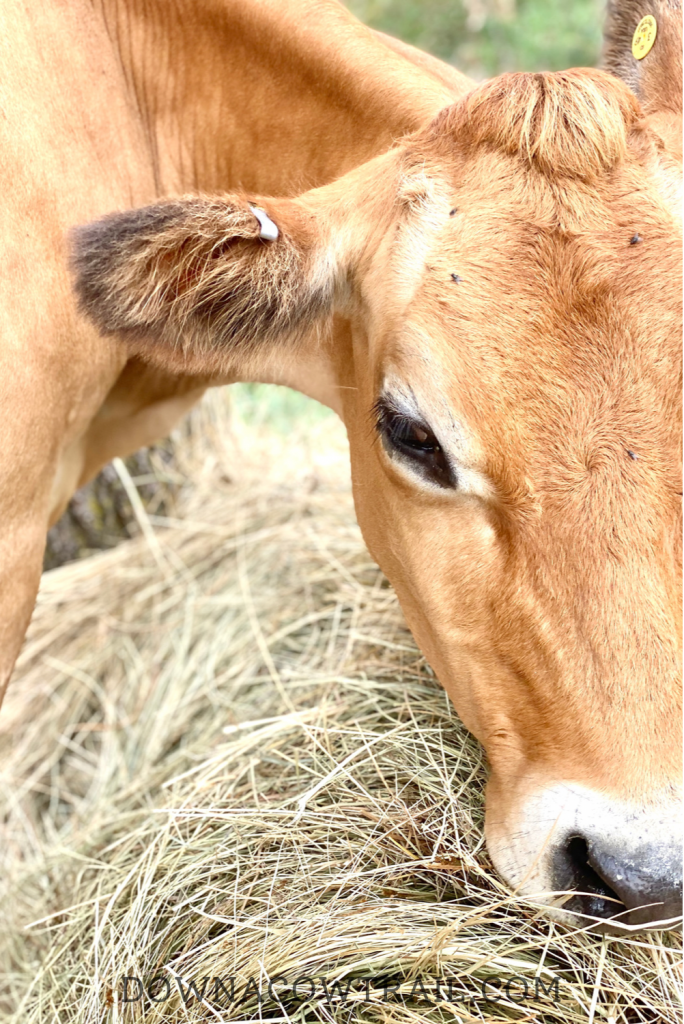
The calf is locked up instead of Molly because I want Molly to have access to graze or eat hay to her heart’s content. Why? You know that lovely cream you ladle off the top of your raw milk? The rumen bugs in their belly help create that delicious cream!
A full belly and happy rumen bugs means lots of delicious creamy milk! And your cow will be much happier and content to stand if she’s milked with a full belly!
The Milking Buckets
In the morning, I gather my milk buckets, which consist of a stainless steel pail, a milk storage bucket (with lid), and 3-4 Milk Check udder wipes.
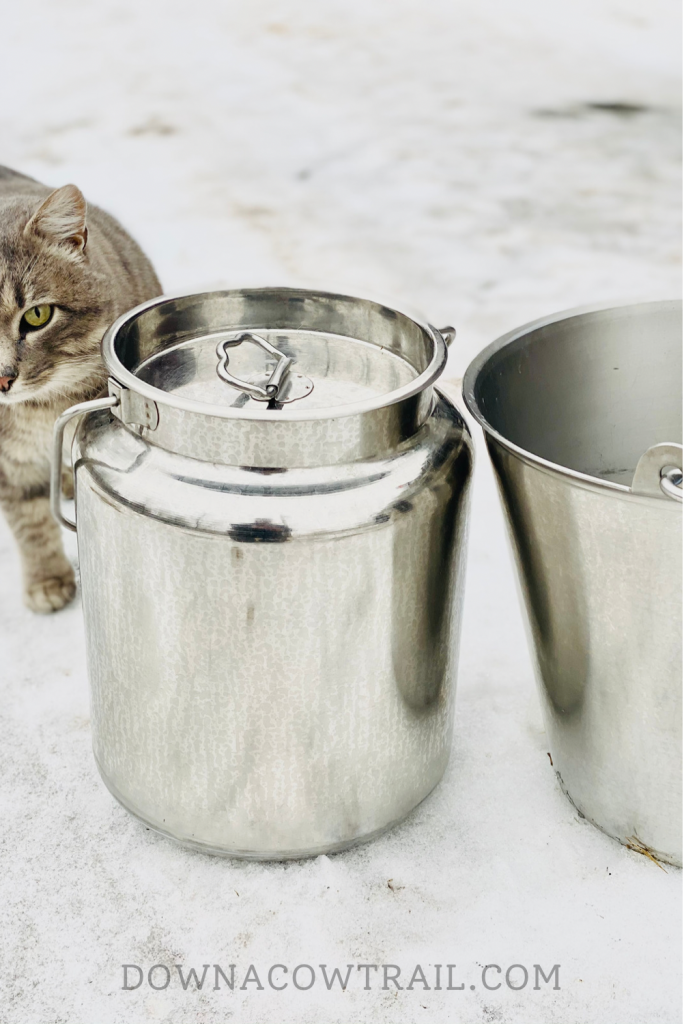
I have used warm soapy water to wash up my cows in the past, but for simplicity’s sake, the Milk Check wipes are more efficient for me right now.
After I have my gear ready to go I head out to greet my cows.
Breakfast at Tiffany’s
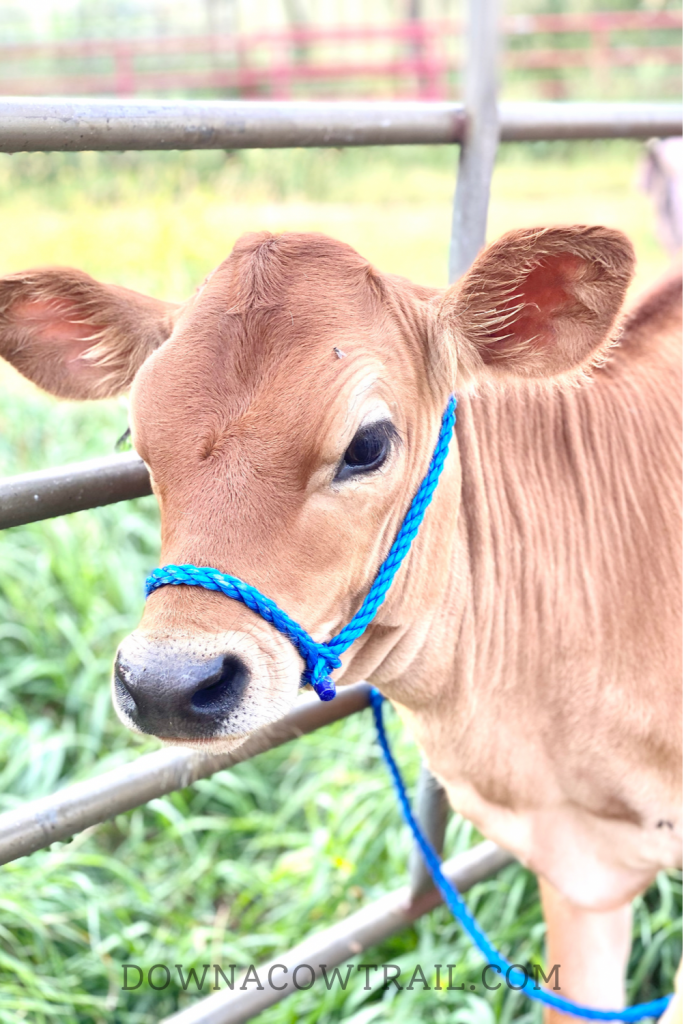
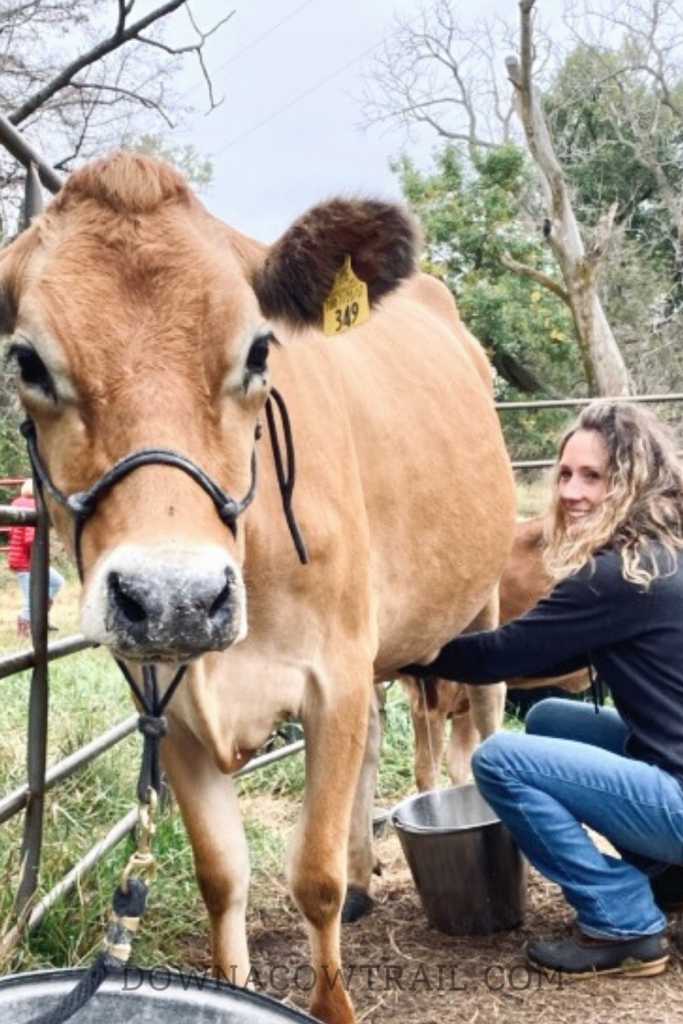
First I tie up Penny and give her a little grain to keep her happy. Then I pour Molly’s grain in her pan and let her in (she usually runs in). Next, I halter Molly, tie her to the fence, and prepare to milk.
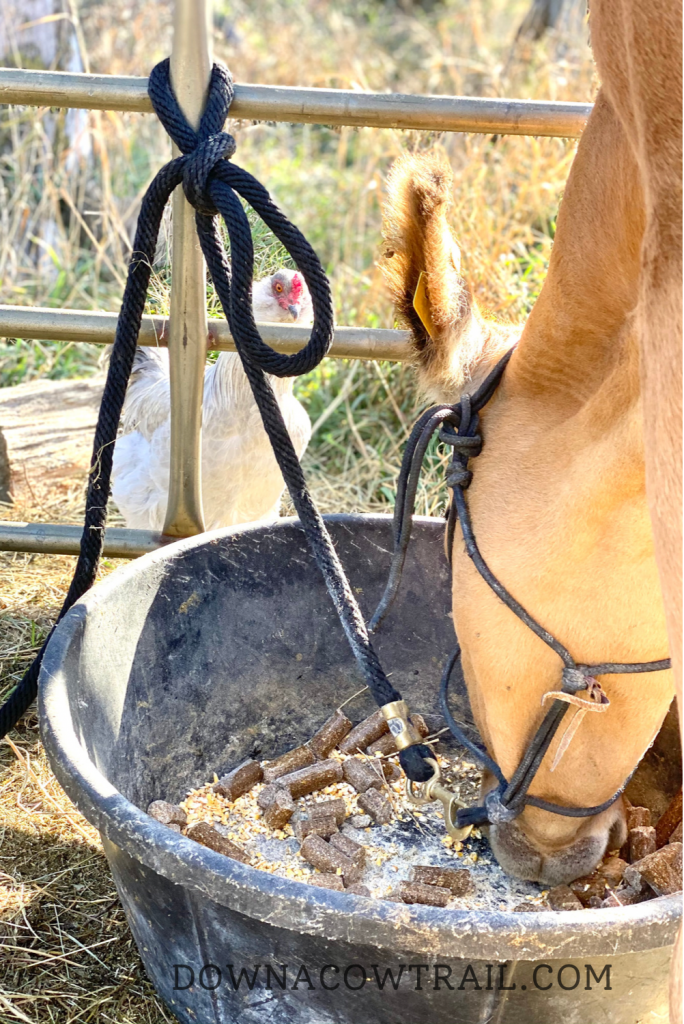
Side note: I do not leave halters on my cows. I used to with my first cow, Gigi, but after she rubbed and hooked her halter to the gate I never left it on her again! There are just too many things in the pasture for them to catch on.
Cleaning Time
Back to milking. With a bristle brush or a grooming block, I brush Molly’s udder well. I always make her sure udder is super clean because I don’t want to chance anything falling into the milk!
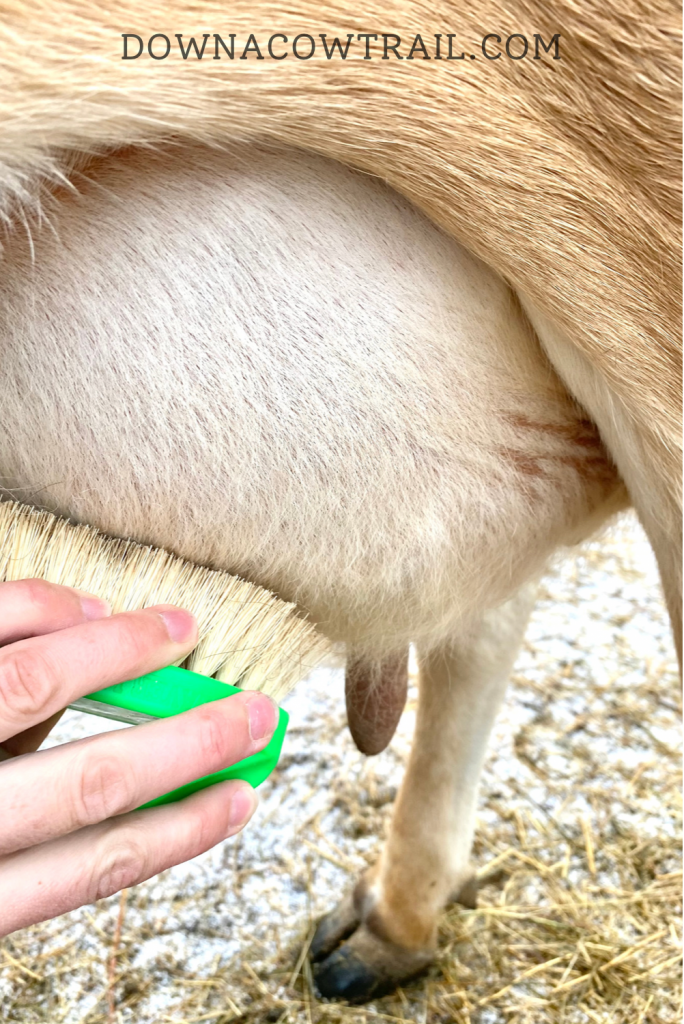
Thankfully Molly usually keeps her udder very clean. My other milk cows rarely had clean udders!
After I brush her udder clean, I wipe down her quarters (a more polite term) with the udder wipes. (Tip: squirt a little milk on the wipes to help get the quarters extra clean!) Make sure there is no manure or dirt anywhere on the quarters and especially the tip.
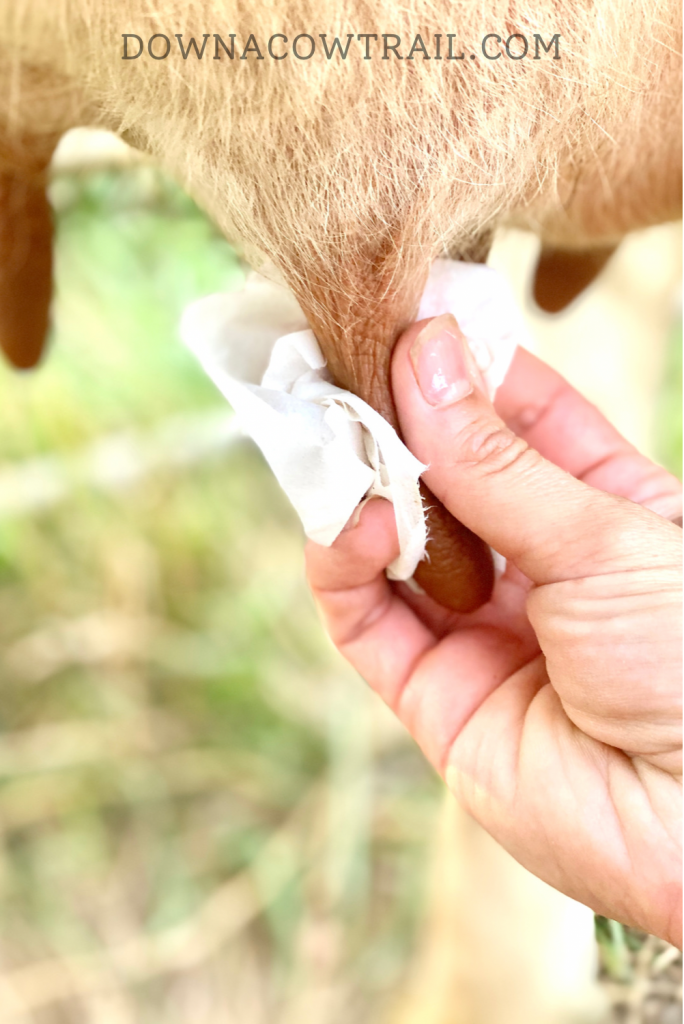
Next, I squirt 3-4 squirts of milk onto the ground before I milk into the bucket just to make sure it’s clean of any debris.
Milking Time!
Now it’s milking time! I usually milk a gallon’s worth into my bucket then pour that into my milk storage pail (with the lid). Then milk the next gallon into my bucket, pour it into the storage pail, and so on. Accidents happen and I don’t want to risk contaminating ALL of the milk if hay or manure is kicked in.
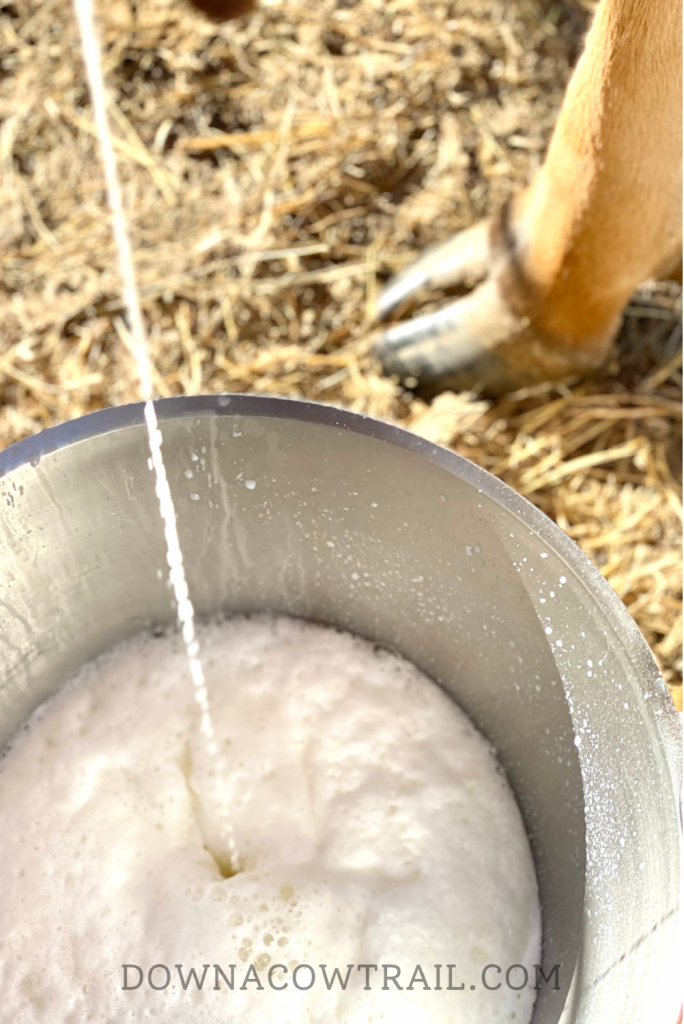
Make sure you strip her all the way out. This is the hardest part, but the most important if you want that delicious cream!
Tip: On the back two quarters you can gently press your hand along the side of the udder between the udder and her leg to get a little extra out.
Moisturize
When we’re all done I use an udder cream or balm to moisturize her quarters. Rub it in well. Then I give her a good scratch and take her halter off. She always waits by the gate knowing I’ll bring her alfalfa, and she moos at me if I take too long!
Filter & Cool
The final part of my daily milking routine is filtering and cooling the milk. After milking, the milk goes straight inside. It is filtered, labeled, and put in the back of the fridge (the coldest spot!).
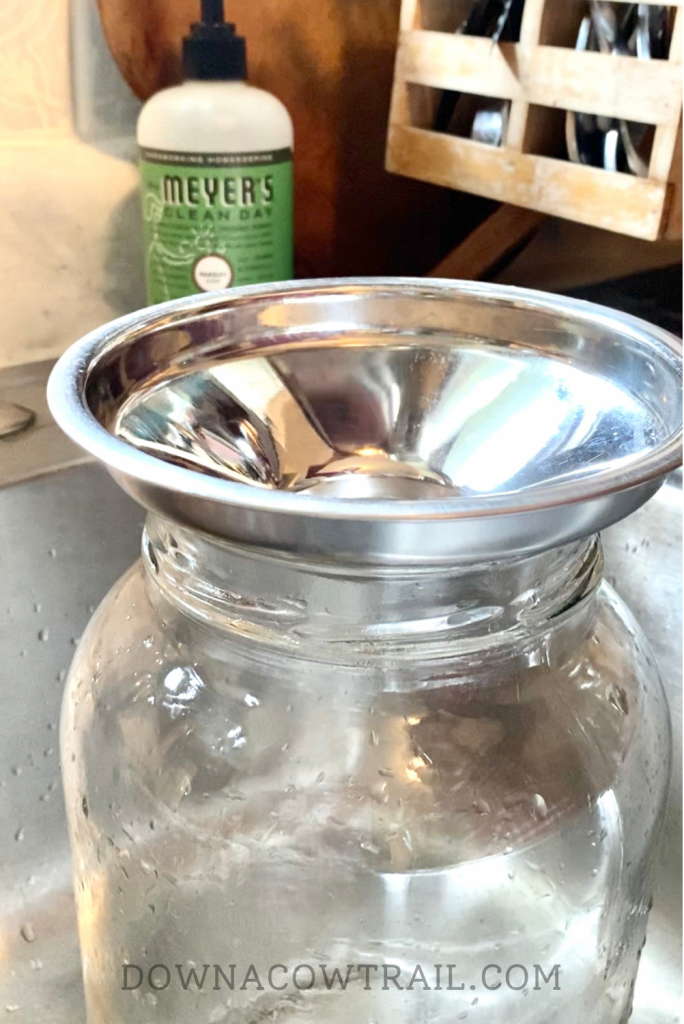
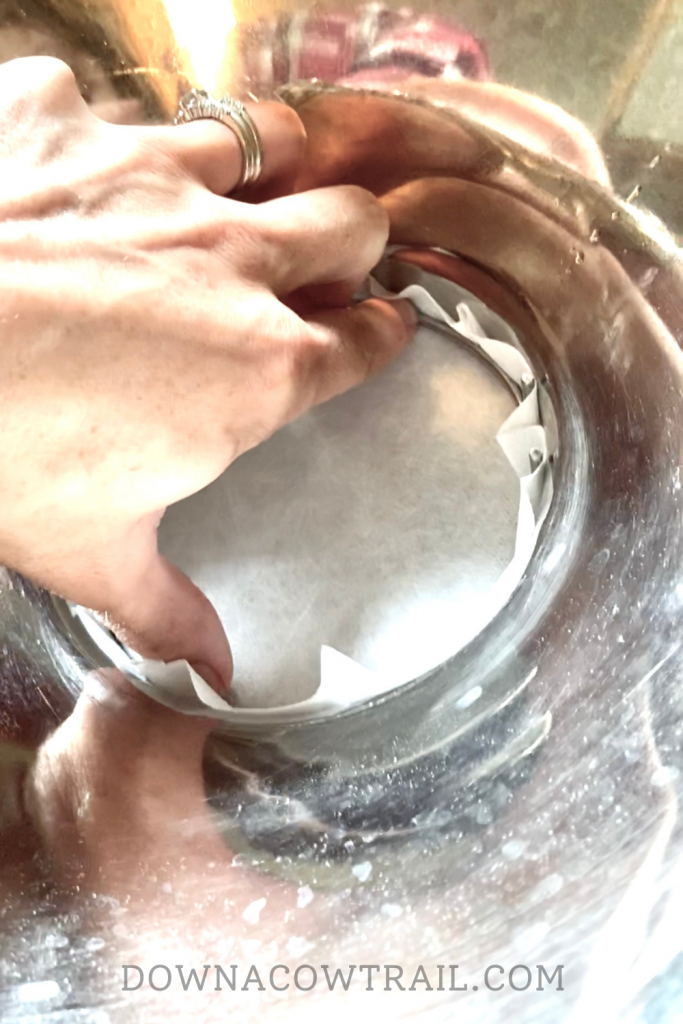
To filter, I use a smaller funnel to fit my jars, a bigger one that nests inside, and then a non-gauze filter.
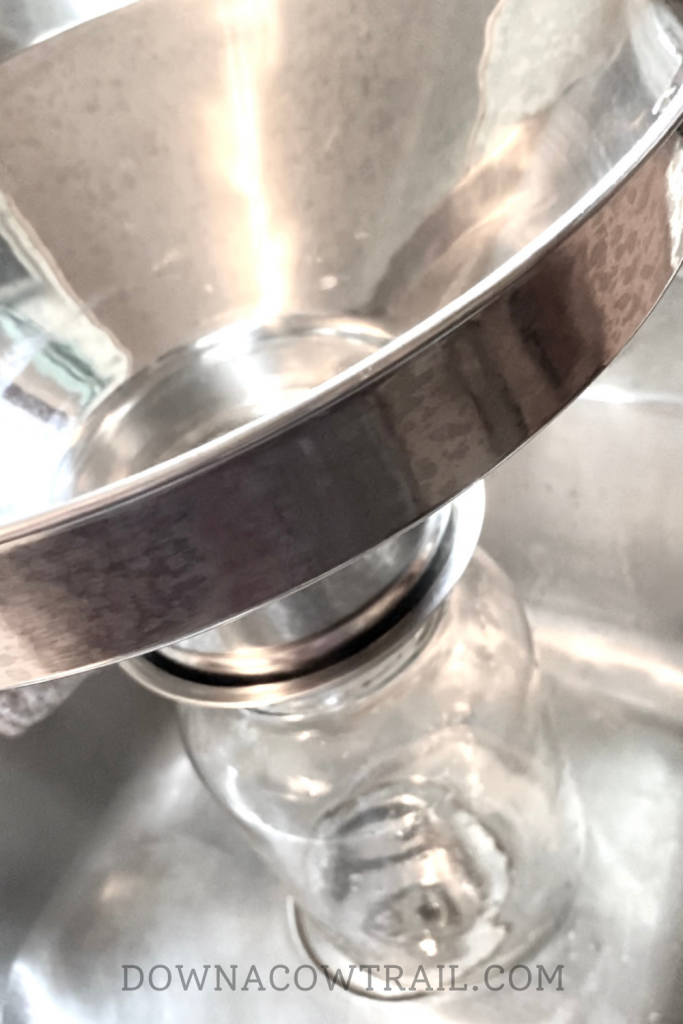
Next, I rinse the disposable filters and throw them away to burn later (rinsed so they don’t smell in the meantime).
I use both gallon and half gallon (mason) jars. Gallon jars are easier to keep milk for cheesemaking and half gallon is what I prefer to use for the milk we drink since they’re easier to handle.
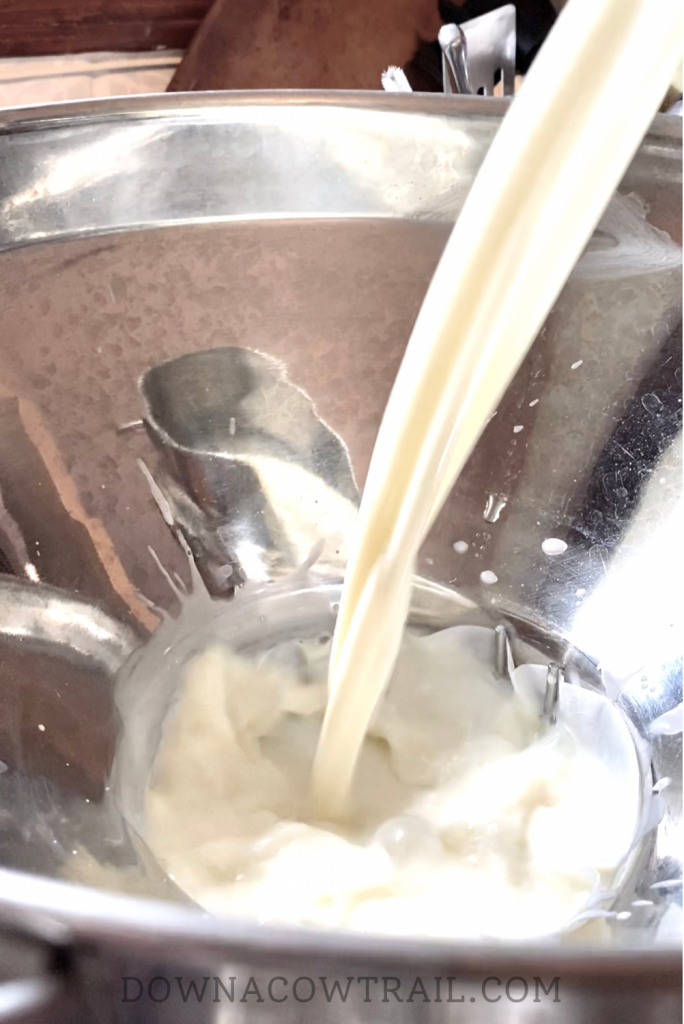
I love the chalkboard mason jar lids for the half-gallon jars and for the gallon jars I use a chalkboard sticker on the lid to write the date.
There are so many steps to my daily milking routine when it’s all written out, but it’s really simple once you get in the swing of things!
Please let me know if you have any questions on my daily milking routine!
Happy Trails!
Tiffany
 Your Guide to Buying a Family Milk Cow
 A2-A2 Milk: What It Is And Why You Need It
 High-Quality Organic Food & Homestead Supplies
 Thanksgiving Recipes – Tried and True
I love this! Beautiful cow and a simple/efficient routine. I do have a question and maybe you have a post on this that I haven’t seen. How did you begin the milking/calf sharing process when Penny was born? My first jersey will have a calf this year and I plan to calf share, but I’m unsure how to go about it right off the bat. Do you start milking right away? So many question about this lol anyway I just love all your posts and your ranch is gorgeous!
Thank you! It makes my heart so happy for you and your new cow:) I am planning on writing a piece on calf-sharing, so the timing of your question is perfect! It’ll be up here soon, so keep an eye out. And please feel free to ask any and all questions!
So much good info! About how long does it take you to milk out Molly? We are bringing home our first Jersey cow in a few months. She’s due to calf in June. We are so excited!
Great post Tiffany! Our routines are very similar! Our cow is getting ready to calve in a couple months, so we aren’t milking now. It’s only been a week, but I miss it!
Oh good I can’t wait! I’m trying to learn all I can before the calf comes, which won’t be til summertime. We are ranchers too, but this is my first Jersey I got her as a calf and raised her so she’s my pal so I hope I can do everything right! Or at least try to anyways. Thanks for all the info!
Yay Jenny! I’m so so excited for you! And can’t wait to see pics on your IG feed!!
It depends on how much of a hurry I’m in I figure about 8-10 min a gallon. That’s just milking, not including prep or clean up. In total it probably takes me on average 30-45 min from getting her in to letting her out.
Thanks, Jenn! Oh I know! Drying off is the hardest part! But so exciting! Hopefully it’ll be beautiful weather by then:)
That’s so fun that you raised her yourself. Sounds like she’ll be a wonderful little milk cow for you! And maybe a nurse cow too? 😀
Thank you for this information! I’m on my way to buy 2 jersey cows right now. They are due in a week or so. Thinking through my routine has been quite helpful! Thank you! Now I’m off to read your calf sharing post!
Hi there, thanks for all the helpful info and great pics! Would you mind sharing what time in the morning dairy cows need to be milked, and about how long the whole process takes from start to finish (starting in the house and ending when all the milking stuff is ready for the next day)? Thanks!
Great! I hope they have settled in nicely and that you have a good routine! 🙂
The time of morning depends mainly on your schedule. The most important thing is to be consistent every day.
I timed myself this morning for you:) From setting up my milking equipment, milking 1.5 gallons, straining/cooling the milk, and cleaning my milking equipment, it took me exactly 25 minutes. Hopefully that helps!