This post may contain affiliate links. I may earn an affiliate commission if you click on a link and purchase an item at no additional cost to you. All opinions are my own.
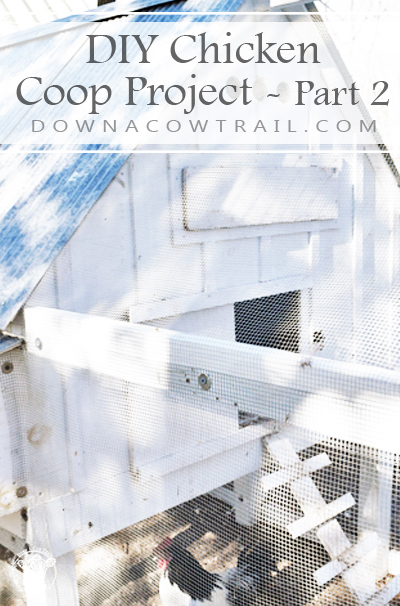
Welcome back to part two of my DIY chicken coop project. In case you missed part 1, you can catch that right here. It’s appropriate that we took a break before we started into the rest. During this project I had to take breaks occasionally, sometimes because of the heat and other times because of the mosquitoes.
There was this optimal time in the mornings where it was cool enough the mosquitoes were still sleeping and it hadn’t got too hot yet. My daughter was with me out in the barn during this whole project, mind you. It’s amazing what children can find to entertain themselves!
(Before I go on, be sure to follow me on Pinterest and Instagram!)
Continuing Construction For The Birds
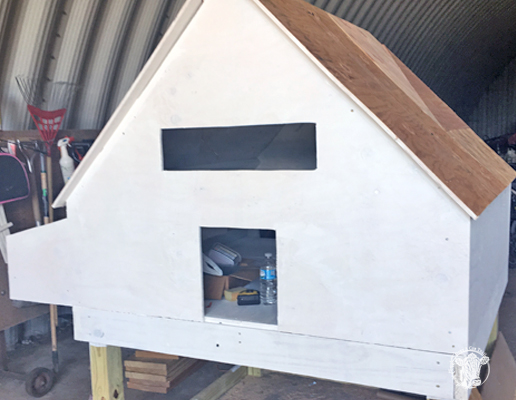
I painted the inside and the outside of the coop before I moved on to the framing of the run. I just used regular white barn paint we had left over from other projects.
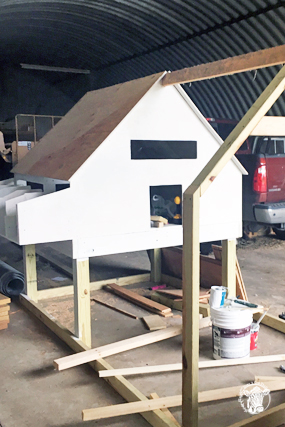
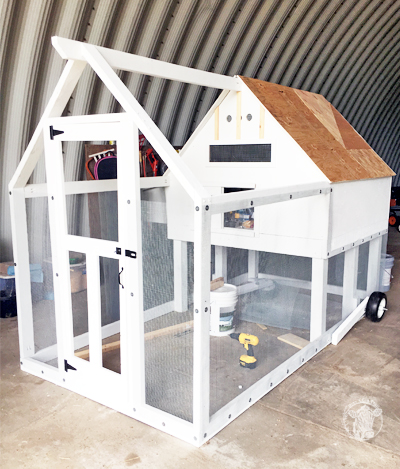
The run framing part was fairly easy. After cutting the lengths and angles I needed with my miter saw, I attached the top to the coop and the front frame simultaneously. I did this with the help of my 1 year old. Well, she watched, and I tried to prop up the pieces and screw them in. It was entertaining from her end I’m sure.
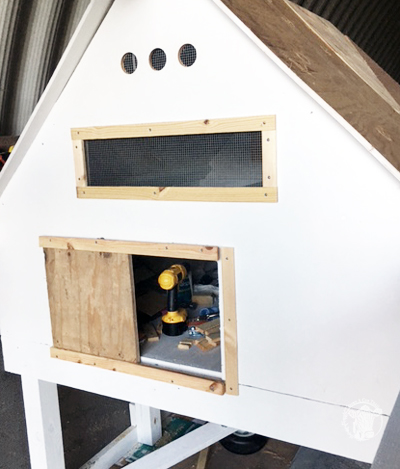
Now it was time to add trim and install a sliding hatch door. I wanted this one to slide sideways, because my future plan is to be able to shut it without going inside the coop. Some sort of push-pull system I’ll have to create…
You can also see I added the hardware cloth behind the window and the little vent holes.
Whoa, where did time go?
A lot happened between the last picture and the following one. I’m not sure where my camera went during this time. I added the side framing, painted, built and installed the door, started adding the decorative trim, and the hardware cloth. Oh, and I also built the levers for the wheels and put those on. More on those later.
The hardware cloth is attached using short 1″ screws and washers. Coons, coyotes, badgers, opossums, and skunks are constantly roaming about our ranch. I don’t want to take any chances with my birds.
Moving the Coop
After stapling on the roofing paper, the next job was getting it up into the yard. Our shop is down a hill from our house, and the coop was quite heavy. I tried pulling it out of the barn and that was a feat. I decided to use something a little more powerful.
I’m pretty sure this was one of the days my husband was out in the hayfield, and I was determined to get it done that day. So, improvise. I hooked the front bottom frame to the back of the 4-wheeler with a couple straps. This worked way better than manually dragging it through the sand.
Through a lot of stopping and shifting, and stopping again, I got it up into the yard. Victory!
I had to drive the 4-wheeler pretty tightly between a couple trees to get it this far. From here on out it was manual labor. Thankfully I had a hill slope working in my favor. Still, there was a lot of grunting and sweating. I found a couple old fence posts to put underneath the front of the coop. I used them to leverage the weight and also roll the coop.
Finally got it into place! I finished painting the coop at this point. And the chicks went in right away. You can see they were a little big to still be living in my house!
The Roof
The very last part to make it all come together was the corrugated sheet metal roof. This came off one of the old buildings here on our ranch. While it was great to have free sheet metal, I had to deal with the screw holes from the previous roof.
My Mom had a great suggestion for sealing the holes as I screwed it down. She said I should use a dab of silicone caulking to the screw right before I nailed it down. I did that with every single one and am so glad I did. One more aspect of weatherproofing.
If you decide to do this, I suggest screwing the screw in part way and then dabbing the caulking on right before you tighten it all the way down. Otherwise it just takes the caulking all the way into the wood.
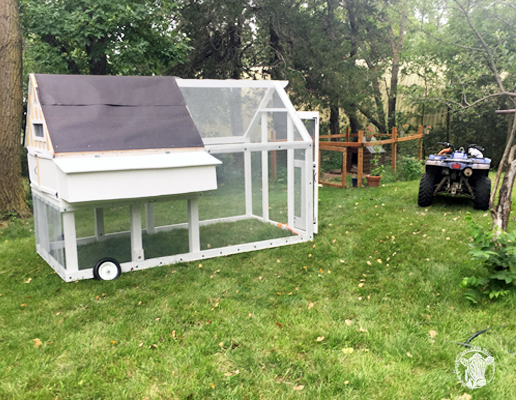
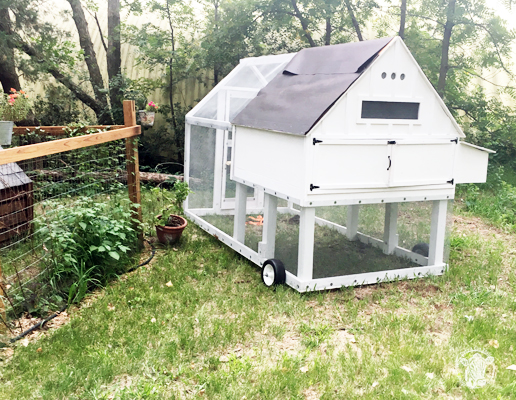
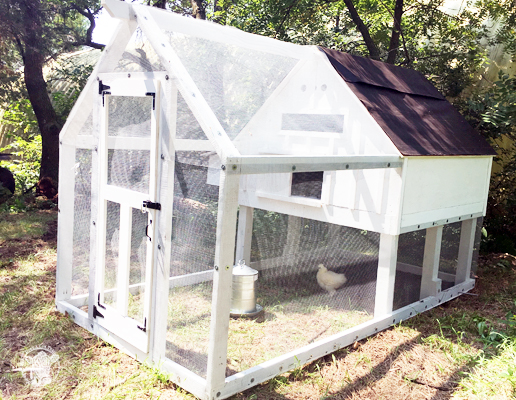
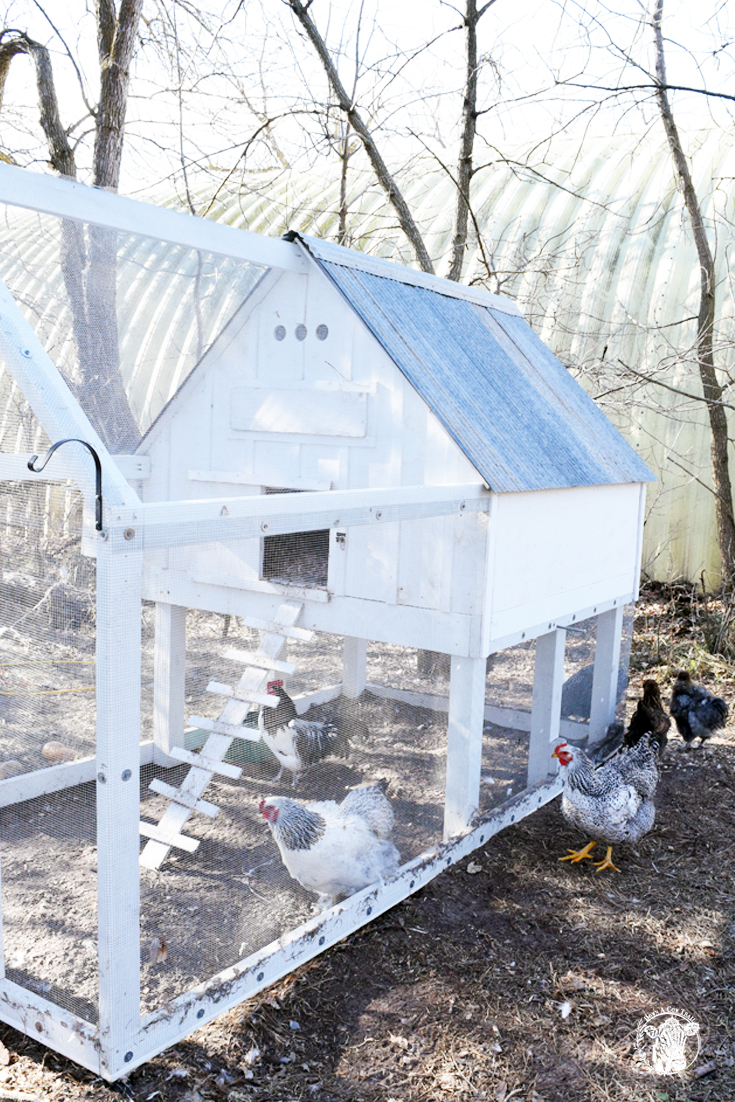
The finished DIY chicken coop project is just what I imagined (maybe a little bit heavier though!).
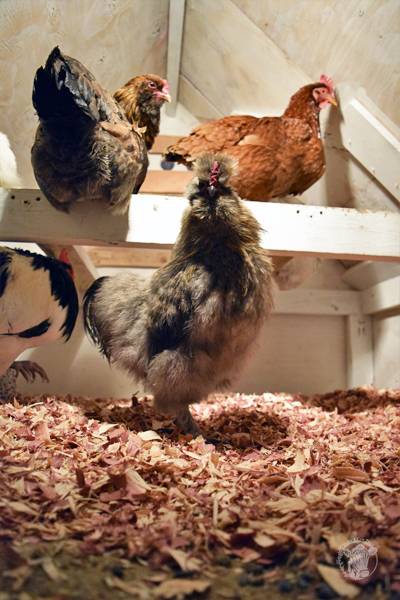
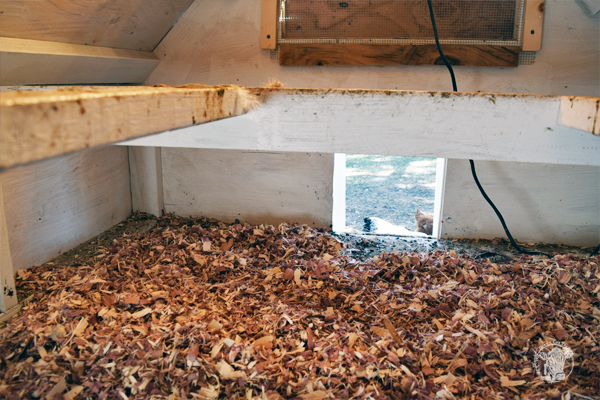
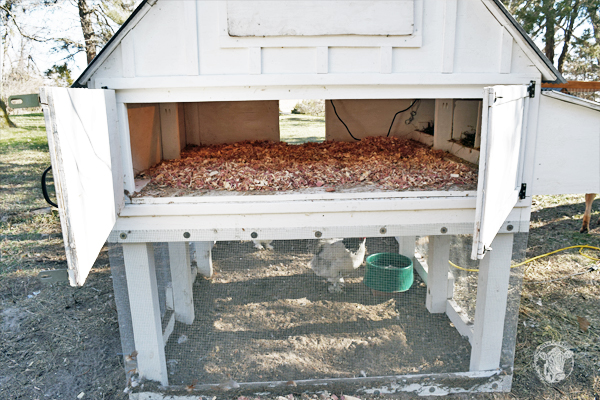
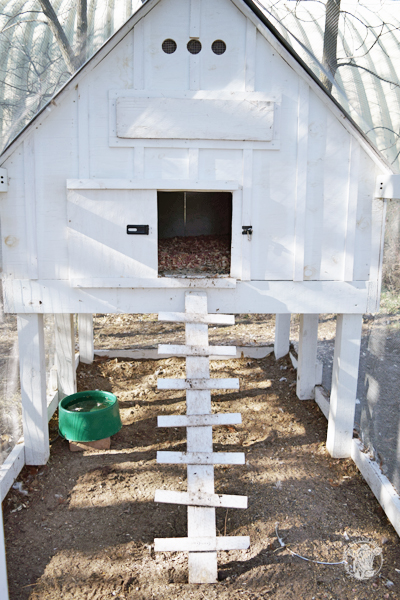
Here are some current pictures of the coop in use.
And there you have it. My DIY chicken coop project. I love the way my coop turned out. There were a few times where I needed to take a couple steps backward to get it right, but overall it came together without too many hitches.
I hope you are inspired to build your own chicken coop. I believe everything I build should hold its own beauty, and I feel like I definitely achieved that on this one! Thanks for reading along! If you do have your own chickens you should check out my free printable first-aid checklist for livestock!
Happy Trails!
Tiffany

 Your Guide to Buying a Family Milk Cow
 Best Breeds for Beautiful Colorful Eggs
 Keep Your Hens Laying Through Winter
 Hügelkultur
Thanks for sharing Tiffany. I used to raise some chicken, my husband turned part of our storage barn into a coop. I eventually gave up on my chicken for I got so busy with my full time job, kids and started a fast food restaurant.
Now retired and still wishing to buy or hire someone to make me a chicken coop. You inspired me more.
I’m so glad to hear that! And I hope you do get your chickens again!
How is coop at protecting this against predators?
The coop itself is predator proof. Eventually I will pour a concrete floor inside, but for now there is hardware cloth underneath the bedding so nothing can dig up from underneath.