This post may contain affiliate links. I may earn an affiliate commission if you click on a link and purchase an item at no additional cost to you. All opinions are my own.
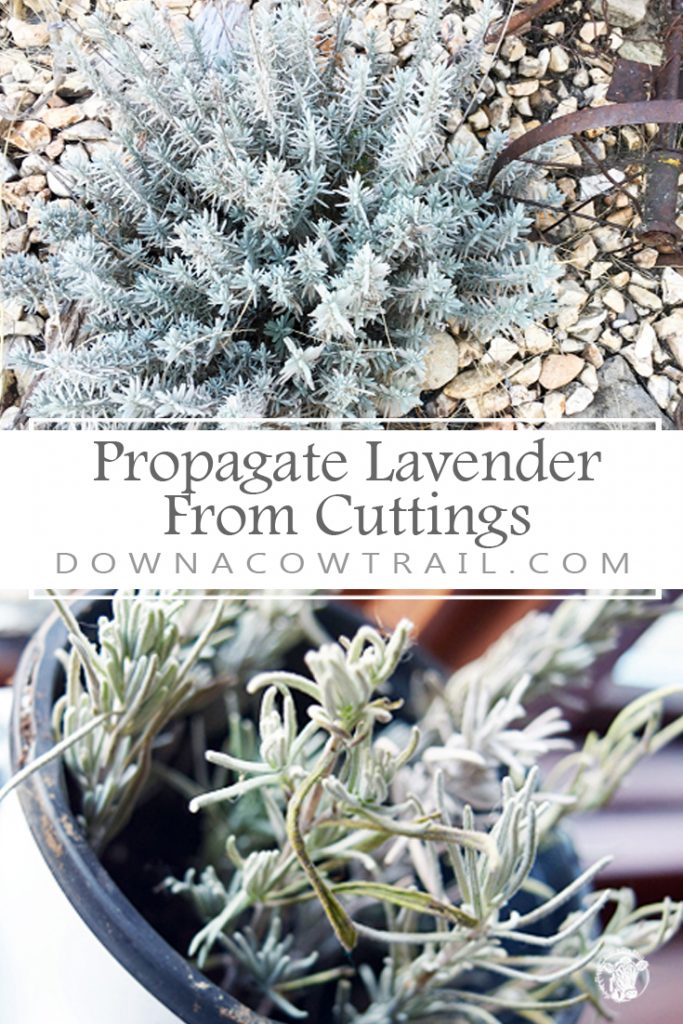
Lavender is quite the plant. It is visually stunning, has healing properties, and emits the most inviting fragrance. I had purchased a couple lavender plants from a local nursery several years back, and decided to try and propagate lavender from cuttings. It was SO easy and well worth it. The plant you see below is one that I had propagated two years ago and it is quite happy even though it was neglected this year.
(Before I go on, be sure to follow me on Pinterest and Instagram!)
Growing up, my Mom always had Lavender plants. We had a neighbor who had a Lavender farm and my Mom would occasionally buy plants from them. Their field of lavender was always beautiful!
As the name suggests, the Nebraska Sandhills is made up of sandy soil. The summer sand gets very hot. Lavender loves heat and well drained soil. Win for me!
My favorite medium for starting my cuttings is Bontone Rooting Powder. Some say you don’t need it, that plants will root on their own, but I use it to increase my chances! I’d like to experiment with cinnamon and other anti-fungal powders for rooting, but that will be for a future post. For now I use rooting powder.
Things you will need:
- Lavender Plant Cuttings 4-6″ long
- Root Powder
- Sharp scissors or knife
- Pot with moist potting soil or vermiculite
If you also enjoy planting your own seed, you can download my free seed inventory tracker!
The Process
The process of propagating lavender with cuttings is really quite simple, although there is one thing you should not do or you’ll regret it!
1.) Take your cutting. There are two types of cuttings you can take off of your lavender plants. The first is a hardwood cutting. This is older, aged wood. This will produce a hardy plant, but it may take more time to root initially. Softwood may root quicker, but it may be more susceptible to the elements. I prefer to take hardwood cuttings. I cut them about 4-6″ long.
2.) Remove bottom leaves. Remove the bottom 2″ of leaves. Use a sharp knife to cut them off so you don’t tear the branch.
3.) Open up the lavender stem. Next, I make light vertical scores in the bottom of the lavender. You want to “open up” the wood without cutting too deeply.
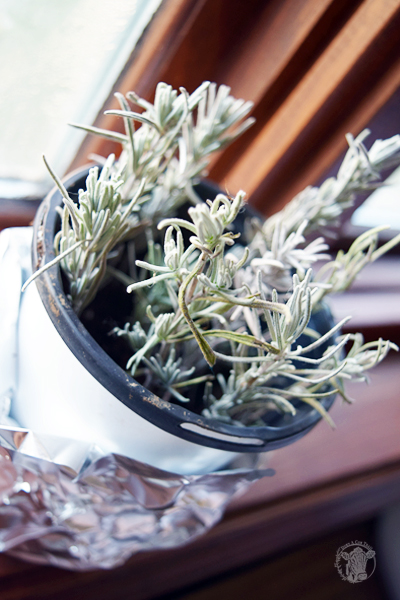
4.) Rooting Powder. Dip it into your root powder about one inch. Next, you can push it into damp vermiculite or damp potting soil. I have had success with both.
Now, one thing you do NOT want to do is cover it with plastic. Last year I tried that, thinking it may help keep the plant from losing humidity, just like I did for my rose cuttings. It retained humidity, but it caused the lavender to rot. I recut my lavender and started over without covering them. That’s the picture below. They are quite happy in a north facing window now.

That’s it! Now just be patient and wait for the little babies to take root. My new lavender cuttings will have some time, as I started my second batch in the fall. They get to be cozy inside all winter long.
Happy Trails!
Tiffany


 Pressure Canning Carrots – Preserve carrots for years!
 My Favorite Heirloom Vegetable Seeds
 Propagate Chrysanthemums From Cuttings
 Simple DIY Peony Supports