This post may contain affiliate links. I may earn an affiliate commission if you click on a link and purchase an item at no additional cost to you. All opinions are my own.
Wooden raised beds were an easy DIY addition to my garden and helped solve several problems that I hadn’t had back in the PNW. Growing up in a river valley in Washington, we always had rocks. I’m pretty sure rocks grew out of the soil.
My Mom built raised beds (with beautiful river rock borders, of course) and that helped tremendously with our hard soil problem. Yet even then the rocks managed to emerge from the ground. Weeding was a challenge and carrots grew in odd shapes wrapping around rocks. Even with its challenges, every soil type has its benefits.
(Before I go on, be sure to follow me on Pinterest and Instagram!)
Improving the Soil
Now I garden in sand and I miss my endless supply of rocks and black soil. My carrots no longer grow in squiggly lines (usually), my beets turn out normal looking, but they still haven’t been growing to their full potential. So I decided to build some raised beds (out of wood, not rocks) so I could easily amend the soil and hopefully keep the nutrients from washing away as quickly.
Before I could start building my wooden raised beds, I needed to find the lumber! We live 2 hours from the nearest Home Depot, so lumber is a little more pricey here. For this reason, I decided to start out with just two raised beds this fall, and will build several more in the spring (hopefully filling them with worm castings!).
I created a seed inventory tracker to help me keep track of all of my seeds! You can download that here!
Construction
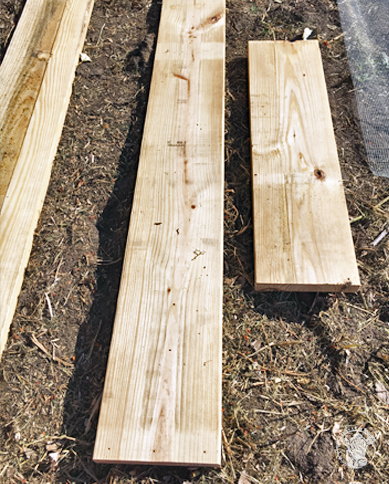
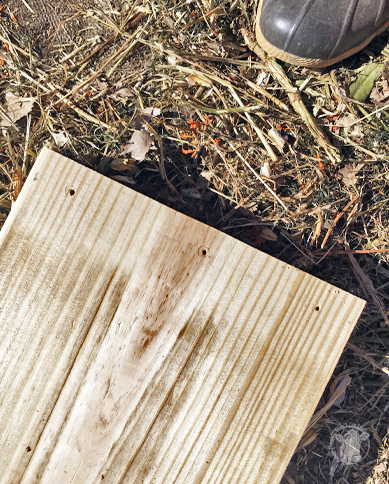
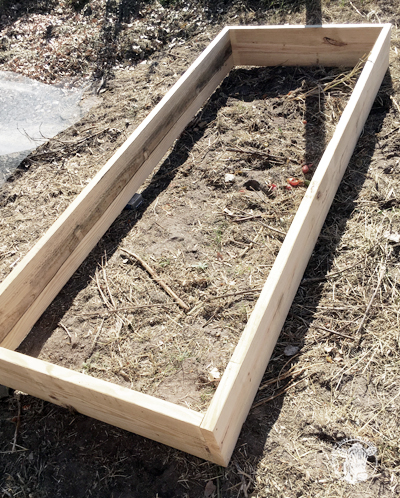
1.) I used 2×10’s for the sides and will add 2×4’s as a top rail in the spring. I bought 8′ pieces. The dimensions of the box is 8×3′. I wanted to be able to easily reach the center of the bed without stepping into it. That’s one thing I learned very young. Do NOT walk in the raised beds! Now I understand my Mother’s wisdom and rule.
2.) I pre-drilled my holes on the ends of the 8′ pieces.
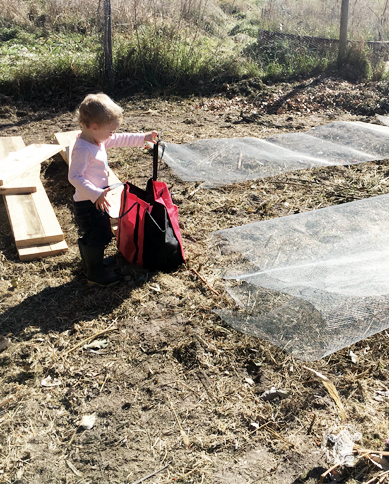
3.) Next, I set up my box and measured from the fence to the box so I was sure to have ample room for my wheelbarrow to move around them.
4.) Screw in the sides (I used 2 1/2″ decking screws) and measure diagonally to make sure it is square. These will settle over time, especially in the sand, but getting them square in the beginning will help. Tighten all screws after it’s squared up.
Keep out the Vermin!
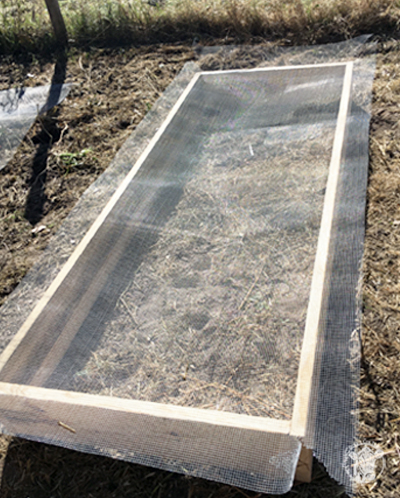
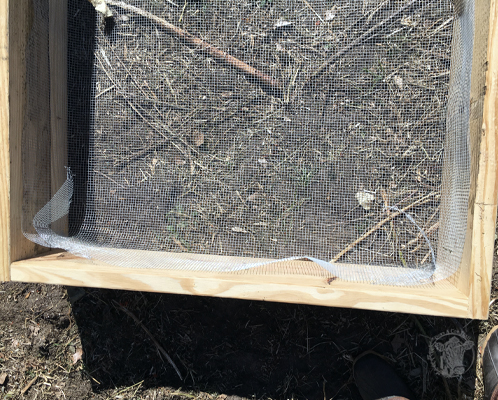
5.) The soft sand is a great medium for vermin. Moles. Gophers. Destroyers of root vegetables. To avoid losing my precious plants to these pests, I lined the bottom of my beds with 1/8″ hardware cloth, I would suggest 1/4″ if you’re buying new. Way easier to cut, but this was what I had on hand from my chicken coop build. I added an extra 6″ on each side when I measured to fold up. So the cut size of the hardware cloth was 9×4′.
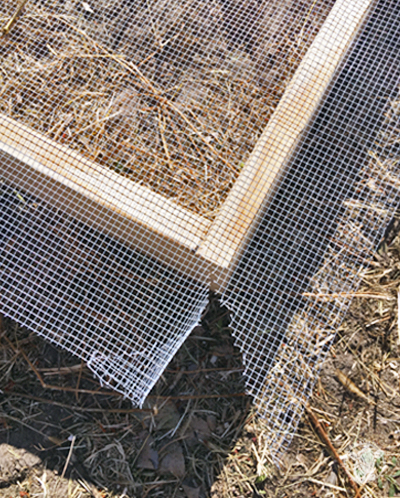
6.) To fold up the sides, I cut each corner at a diagonal. This way if you need to cut more to make the wire fit it is easy vs. if you tried cutting at a right angle, your cut would just go deeper in the wrong direction (See below photo).
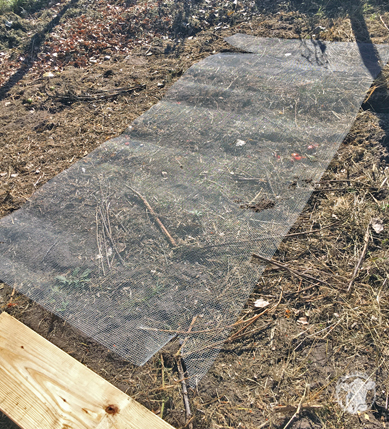
7.) Next I stapled the wire in and made sure the sharp edges were folded in so no hands get sliced when we dig in the soil.
A Barrier
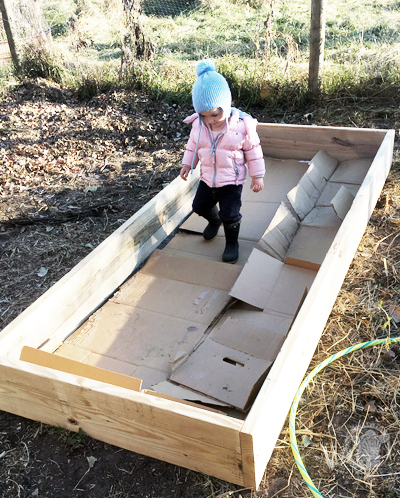
8.) We burn our paper and cardboard waste (when its not being fed to the worms), so I had a nice pile of cardboard boxes in the barn. I flattened those out and laid them over the hardware cloth to prevent weeds from coming up.
We have this terrible type of grass that has sticky seed heads. Sticky like velcro sticky, except it leaves little pokey spines in whatever it attaches to. Many times I’ve seen insects get trapped in it. I’ll have to get a photo next summer. It looks like a type of Timothy, but is definitely NOT. I’d like to kill that out of my garden this year.
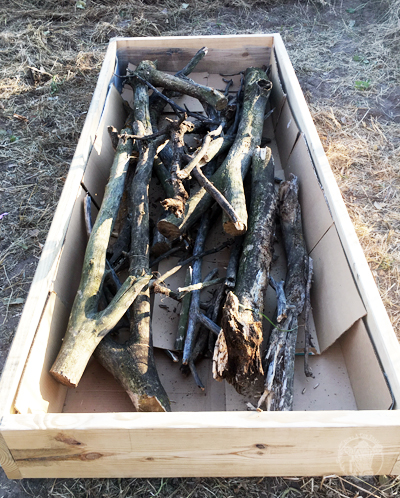
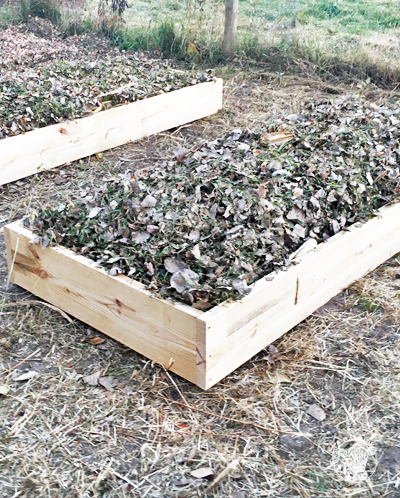
9.) Lastly I filled the beds with cottonwood branches (which are plentiful around here), soil/cow manure, and leaves. This technique of layering over branches is called Hügelkultur (and tailored for my needs). I’ll let it start to break down over winter and then add more soil as needed in the spring.
I am so excited to see how the new wooden raised beds will perform this coming year. It was an easy project, and I’m sure it will be well worth the effort!
Happy Trails!
Tiffany
 Pressure Canning Carrots – Preserve carrots for years!
 Your Guide to Buying a Family Milk Cow
 My Favorite Heirloom Vegetable Seeds
 DIY Chicken Coop Project – Part 2