This post may contain affiliate links. I may earn an affiliate commission if you click on a link and purchase an item at no additional cost to you. All opinions are my own.

Mirrors have a way of opening up a space. I wanted a farmhouse style floor length mirror in our master bedroom to open it up a little more and for vanity’s sake. My sisters were always my fashion critics, but since they are over 1,000 miles away, I needed a tall mirror to critique my fashion choices.
I shopped around online, but didn’t want to spend more than $30 on a mirror. Not finding a big framed mirror I liked within my price range I decided to build my own. Who would have thought. On one of my trips to the “big city” (about two hours away), I found a mirror at Target. All I needed to do now was build the frame!
(Before I go on, be sure to follow me on Pinterest and Instagram!)
The Process
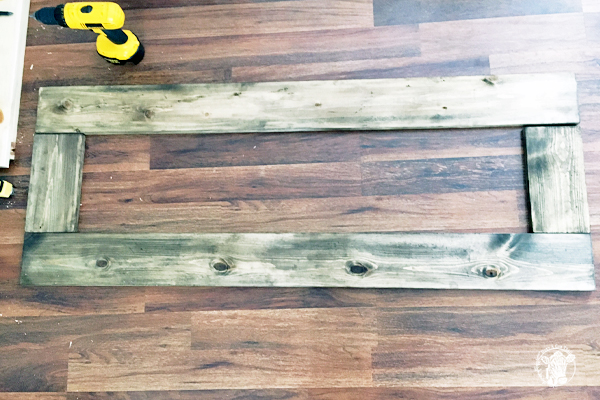
Cut your pieces. I used some 1×6″ lumber that I had for the frame. If you don’t have extra lumber around you will have to add that in the cost to build. My Dewalt miter saw did the job quickly.
Here are the length of my cut pieces.
2 – 1×6’s @ 10 3/4″
2 1×6’s @ 57 3/4″
Stain the wood
I stained them before I put them together. Usually I use dark walnut, but in order to keep it a little lighter I wet down the wood first, let it soak in for about 30 seconds and then use a damp rag to dip into the stain and spread evenly on the boards. Be sure to wear gloves and use in a well ventilated area!
Something to keep in mind is the off-gassing. You might want to leave the wood alone for a couple days to let it air out before placing it into your bedroom. It is quite smelly! You could try a General Finishes stain. I love their products and so far they have had little to no smell.
Assemble
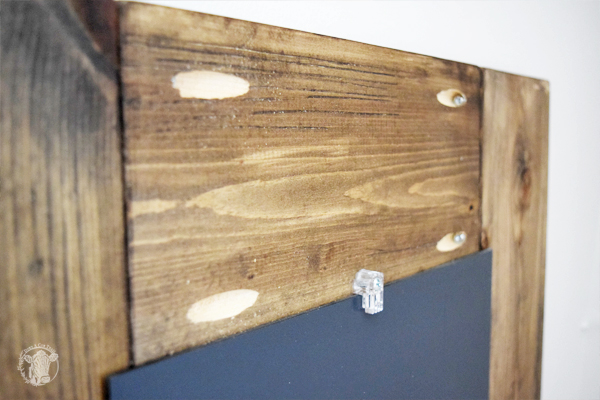
Drill your pocket holes. I always use my Kreg Jig to assemble projects like this (The photo I took is from a different project). Lay your frame out front side down. Drill two holes on each end of the short pieces. Making sure to drill your holes on the back side!

Now it’s time to assemble the frame. Use your pocket hole screws to secure the sides together.
Make it pretty
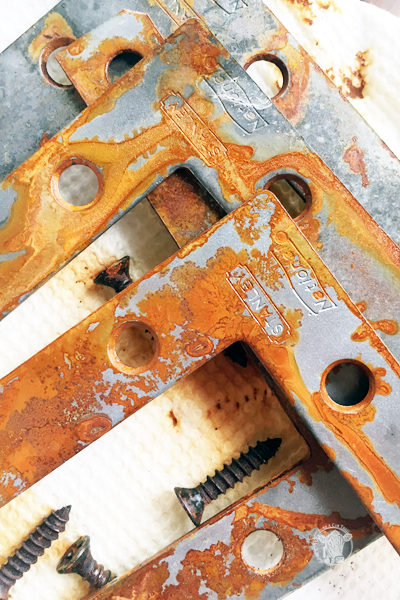
Decorative hardware. This part you may want to do in advance, as you let the hardware sit overnight. I wanted to add rustic hardware, but didn’t happen to have any salvaged pieces on hand. Why not make my own! So I bought 4 simple flat corner brackets, put them in a glass container (important to use glass! You don’t want your plastic container causing a weird reaction) with water, hydrogen peroxide, and salt. Just enough liquid to cover the brackets is fine.

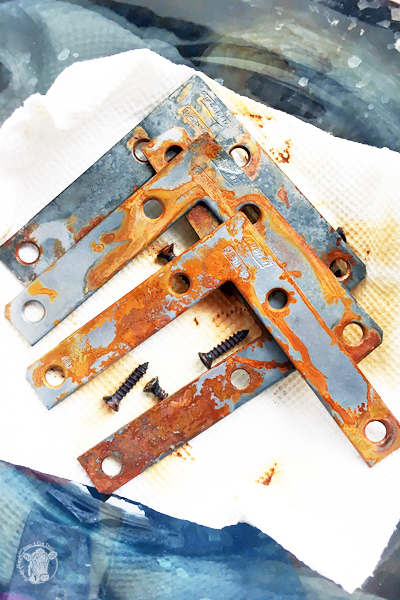
I had my pieces overlaying each other, which created patterns on some, but that didn’t bother me. If you want more uniform corrosion, you should use a larger container. Let is sit overnight (you may need more time depending on your material). Mine came out with bright rust orange.
I really liked the way they were looking! After I pulled them out and let them dry, I gently wiped them off and attached them to the corners of my frame. Beautiful!
Attach the mirror to the frame. I used the plastic hangers that came with the mirror to secure the mirror to the frame.
There you have it! A DIY farmhouse style floor length mirror! My mirror sits on the floor, so I had no need to add hanger hardware. I love how easy this project was and how it makes our bedroom seem bigger!
Happy Trails!
Tiffany
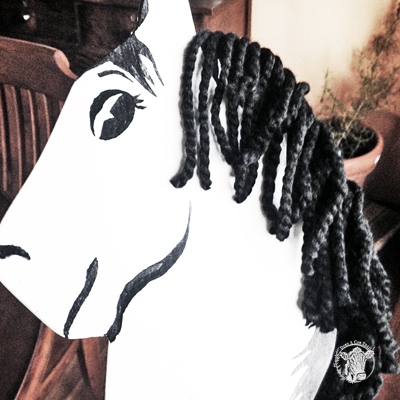 DIY Vintage Stick Horse
 Pressure Canning Beets – A Simple Guide
 Cleaning Gutters
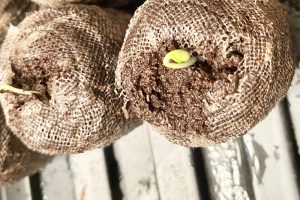 How To Pre-Sprout Seeds