This post may contain affiliate links. I may earn an affiliate commission if you click on a link and purchase an item at no additional cost to you. All opinions are my own.
Red worms and these easy DIY worm bins have been on my list of future projects for some time now. I remember a composting event we went to with my Mom when I was young, and they had a demonstration on raising red worms. My Mom had bought red worms after that and did her own vermiculture in her basement. Now it’s my turn.
(Before I go on, be sure to follow me on Pinterest and Instagram!)
My soil is primarily sand, and I am constantly seeking out new ways to improve soil quality. Since sand is so efficient at drainage I have to continually amend. I compost in the warm seasons and use a compost tumbler my parents gave me. As soon as it gets cold though, the compost freezes into a big chunk.
A New Use For Scraps
We have a dumpster service that comes once a month and the whole family (my husband’s parents, and his brothers’ families) uses that bin. I try to minimize what I put in the dumpster as much as possible so we don’t take up space. We burn everything else.
We only burn when the weathers ensures safe burning, so sometimes the burn bags sit for a little while before my brother-in-law gets them burned. I don’t put any food scraps in the burn bags for fear that critters might find it in the barn before it gets burned up. And you know what a mess coons and mice can make out of things! Who knew trash could be such a complex issue on the homestead.
The chickens get all of the good kitchen scraps, but I needed something in the winter as a means of composting the rest. Enter the wormies! And they sure are cute little guys…if you like bugs.
I have always been partial to worms. My sisters and I would always save them from puddles and hot concrete. So now, I’m excited to share these super easy DIY worm bins that you can make in less than an hour!
Worms For Everyone!
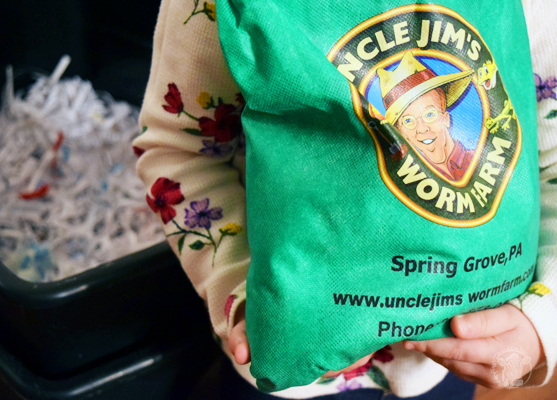
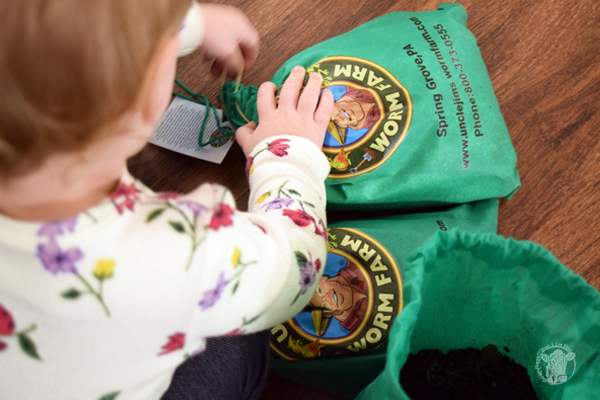
I did my research and found Uncle Jim’s Worm Farm. It’s a fun site with a lot of “wormy” information. Be sure to sign up for their email list. They send out sales and promotions pretty often. I bought my worms on a BOGO sale. While I waited for my worms to arrive I got to work on the worm bins.
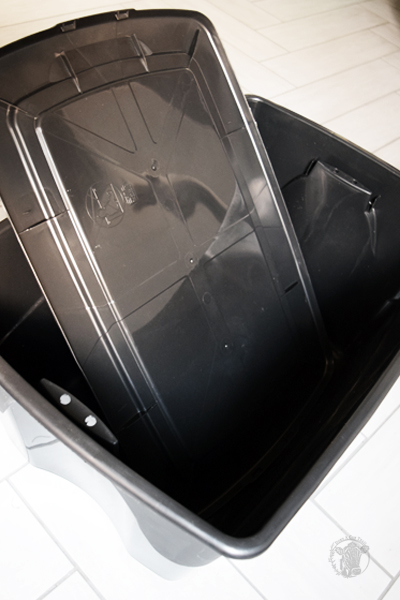
This was a super easy project and took me probably 20 minutes from start to finish cleaning them up (cobwebs) to putting them together. I had several black opaque rubbermaid-type totes down in the basement. Make sure yours do not allow any light in. Worms don’t like light, and you may have a mass exodus on your hands…
I used three totes and two lids for these easy DIY worm bins. Here’s how it went together.
Items you’ll need:
- 3 opaque totes
- 2 opaque lids
- Drill
- 3/16″ drill bit
- 2 scraps of 2×4
- Paper shredder
- Shredded Paper
- Worms!
The Process
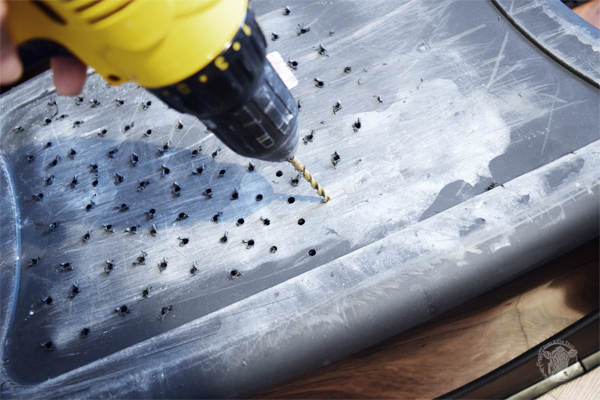
1.) The first thing you’ll need to do is drill hundreds of holes in the bottom of two of your totes. Other folks who made worm bins suggested a drill bit anywhere between 1/8″ to 1/4″. I decided to go right in between with 3/16″. While I didn’t want to make the holes too big, I also wanted to give my little garbage eaters room.
I plan on feeding my worms a lot and don’t want their worm chub to get stuck halfway…so I’m totally kidding, but still. Just trying to be considerate.
When you’re drilling, don’t push too hard as you can crack the plastic (I may have done this a couple times). I’ll apologize in advance if you love symmetry. There is nothing orderly about these holes.
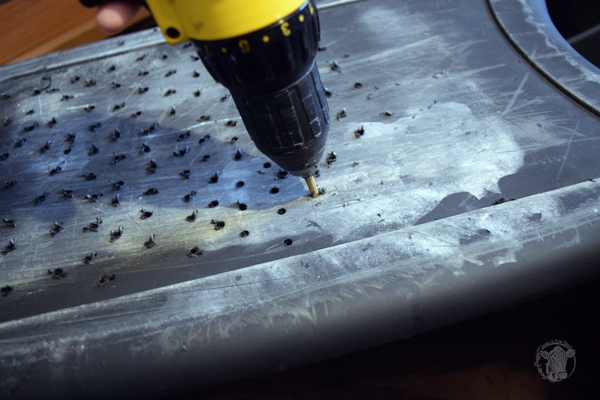
Drill the holes
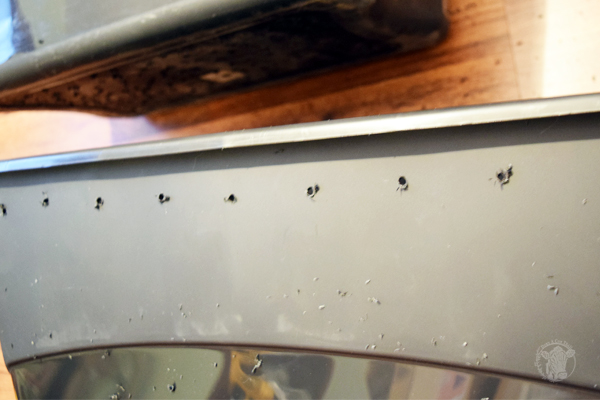
2.) Drill about 10 holes in the top-side of the two worm totes for venting.
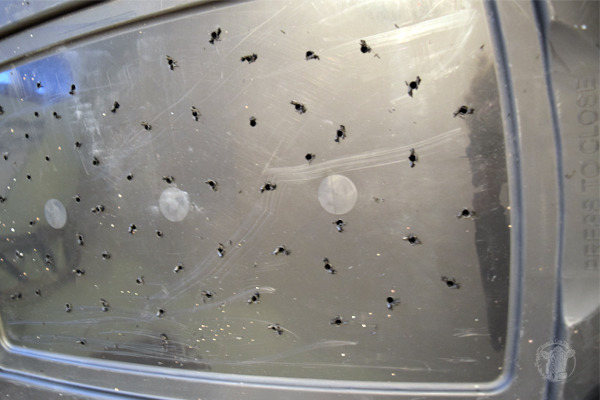
3.) Drill holes in ONE of the lids. This lid will become your venting lid. The second lid will sit loosely on top of this one. It is very important to keep worms in complete darkness. You don’t want them to avoid eating the food you’re putting in for them because of light.
4.) In your non-drilled tote, set your 2×4 scraps on the bottom. This tote’s sole purpose is to collect “worm tea” or the liquid that comes from the little wigglers. By setting in the 2×4 scraps you’ll raise the worms up off the floor enough to keep them from soaking in liquid. You’ll also want to collect this liquid once they get going. It will be a valuable way to give nutrients to your gardens.
5.) Set one of your holey bins into the base bin.
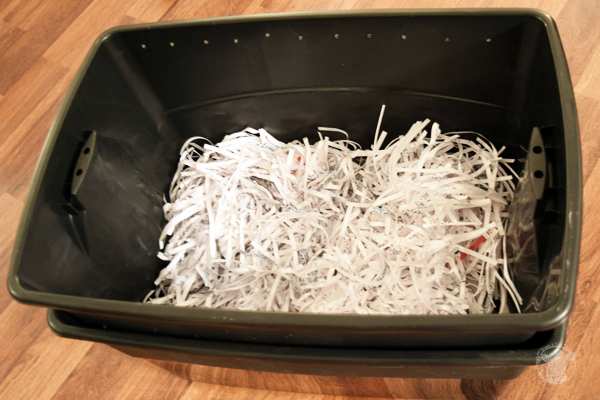
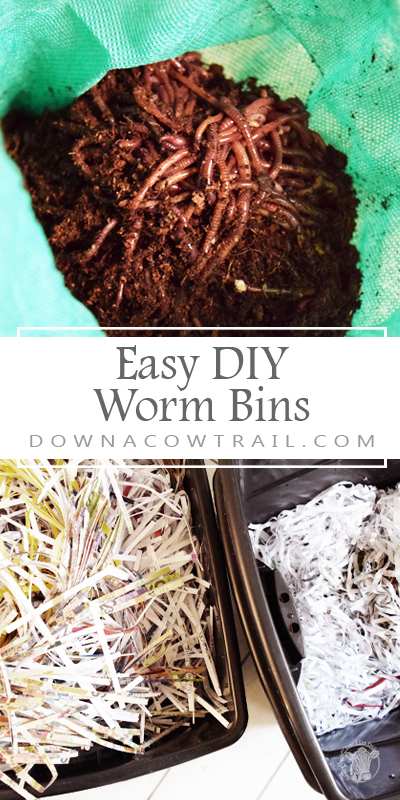
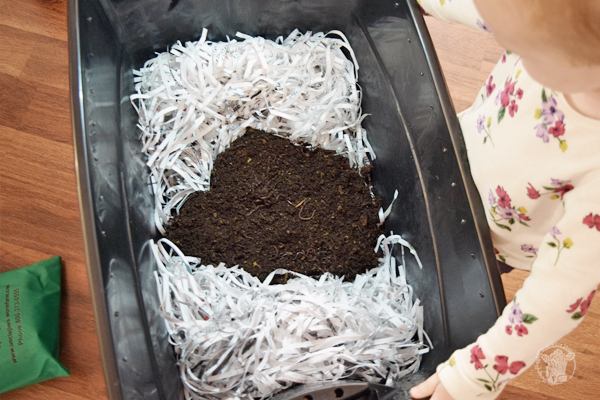
6.) Prepare a bed of shredded paper for your worms. Moisten it slightly with water. You don’t want it soaking wet, but it needs to be moist all the way through. I chose a paper shredder that cuts into strips instead of cross cutting. The larger size of the paper strips will allow your worms more airflow instead of smothering them with tiny bits of paper.
Add the wormies!
7.) Add your worms! My daughter was super excited about this part. We made a little “nest” in the middle of the shredded paper and carefully dumped the worms in. I poured in some of the worm food I purchased along with them to get them started, then we covered them up with the moist paper.
8.) THIS STEP IS SUPER IMPORTANT. Keep the lid off the worms and place them in a room with a light on. I set them in my laundry room and at first I thought I’d just crack the lid a little to give them a little bit of darkness, as I’ve heard they’ll crawl out when first adjusting to their new home.
I’m so glad I checked them before bed. Several were scaling the walls of the tote! Now I completely took off the lid and put the runaways back in the bottom of the bin. This morning, they were all happily under the paper and I didn’t have any escapees.
I’m very excited for them to get cracking and turn out some great castings. According to Uncle Jim’s, these worms double their population every 90 days. I’m looking forward to reaping the benefits of these little critters.
Stay tuned for an update on my easy DIY worm bins and their progress!
Happy Trails!
Tiffany
 Pressure Canning Carrots – Preserve carrots for years!
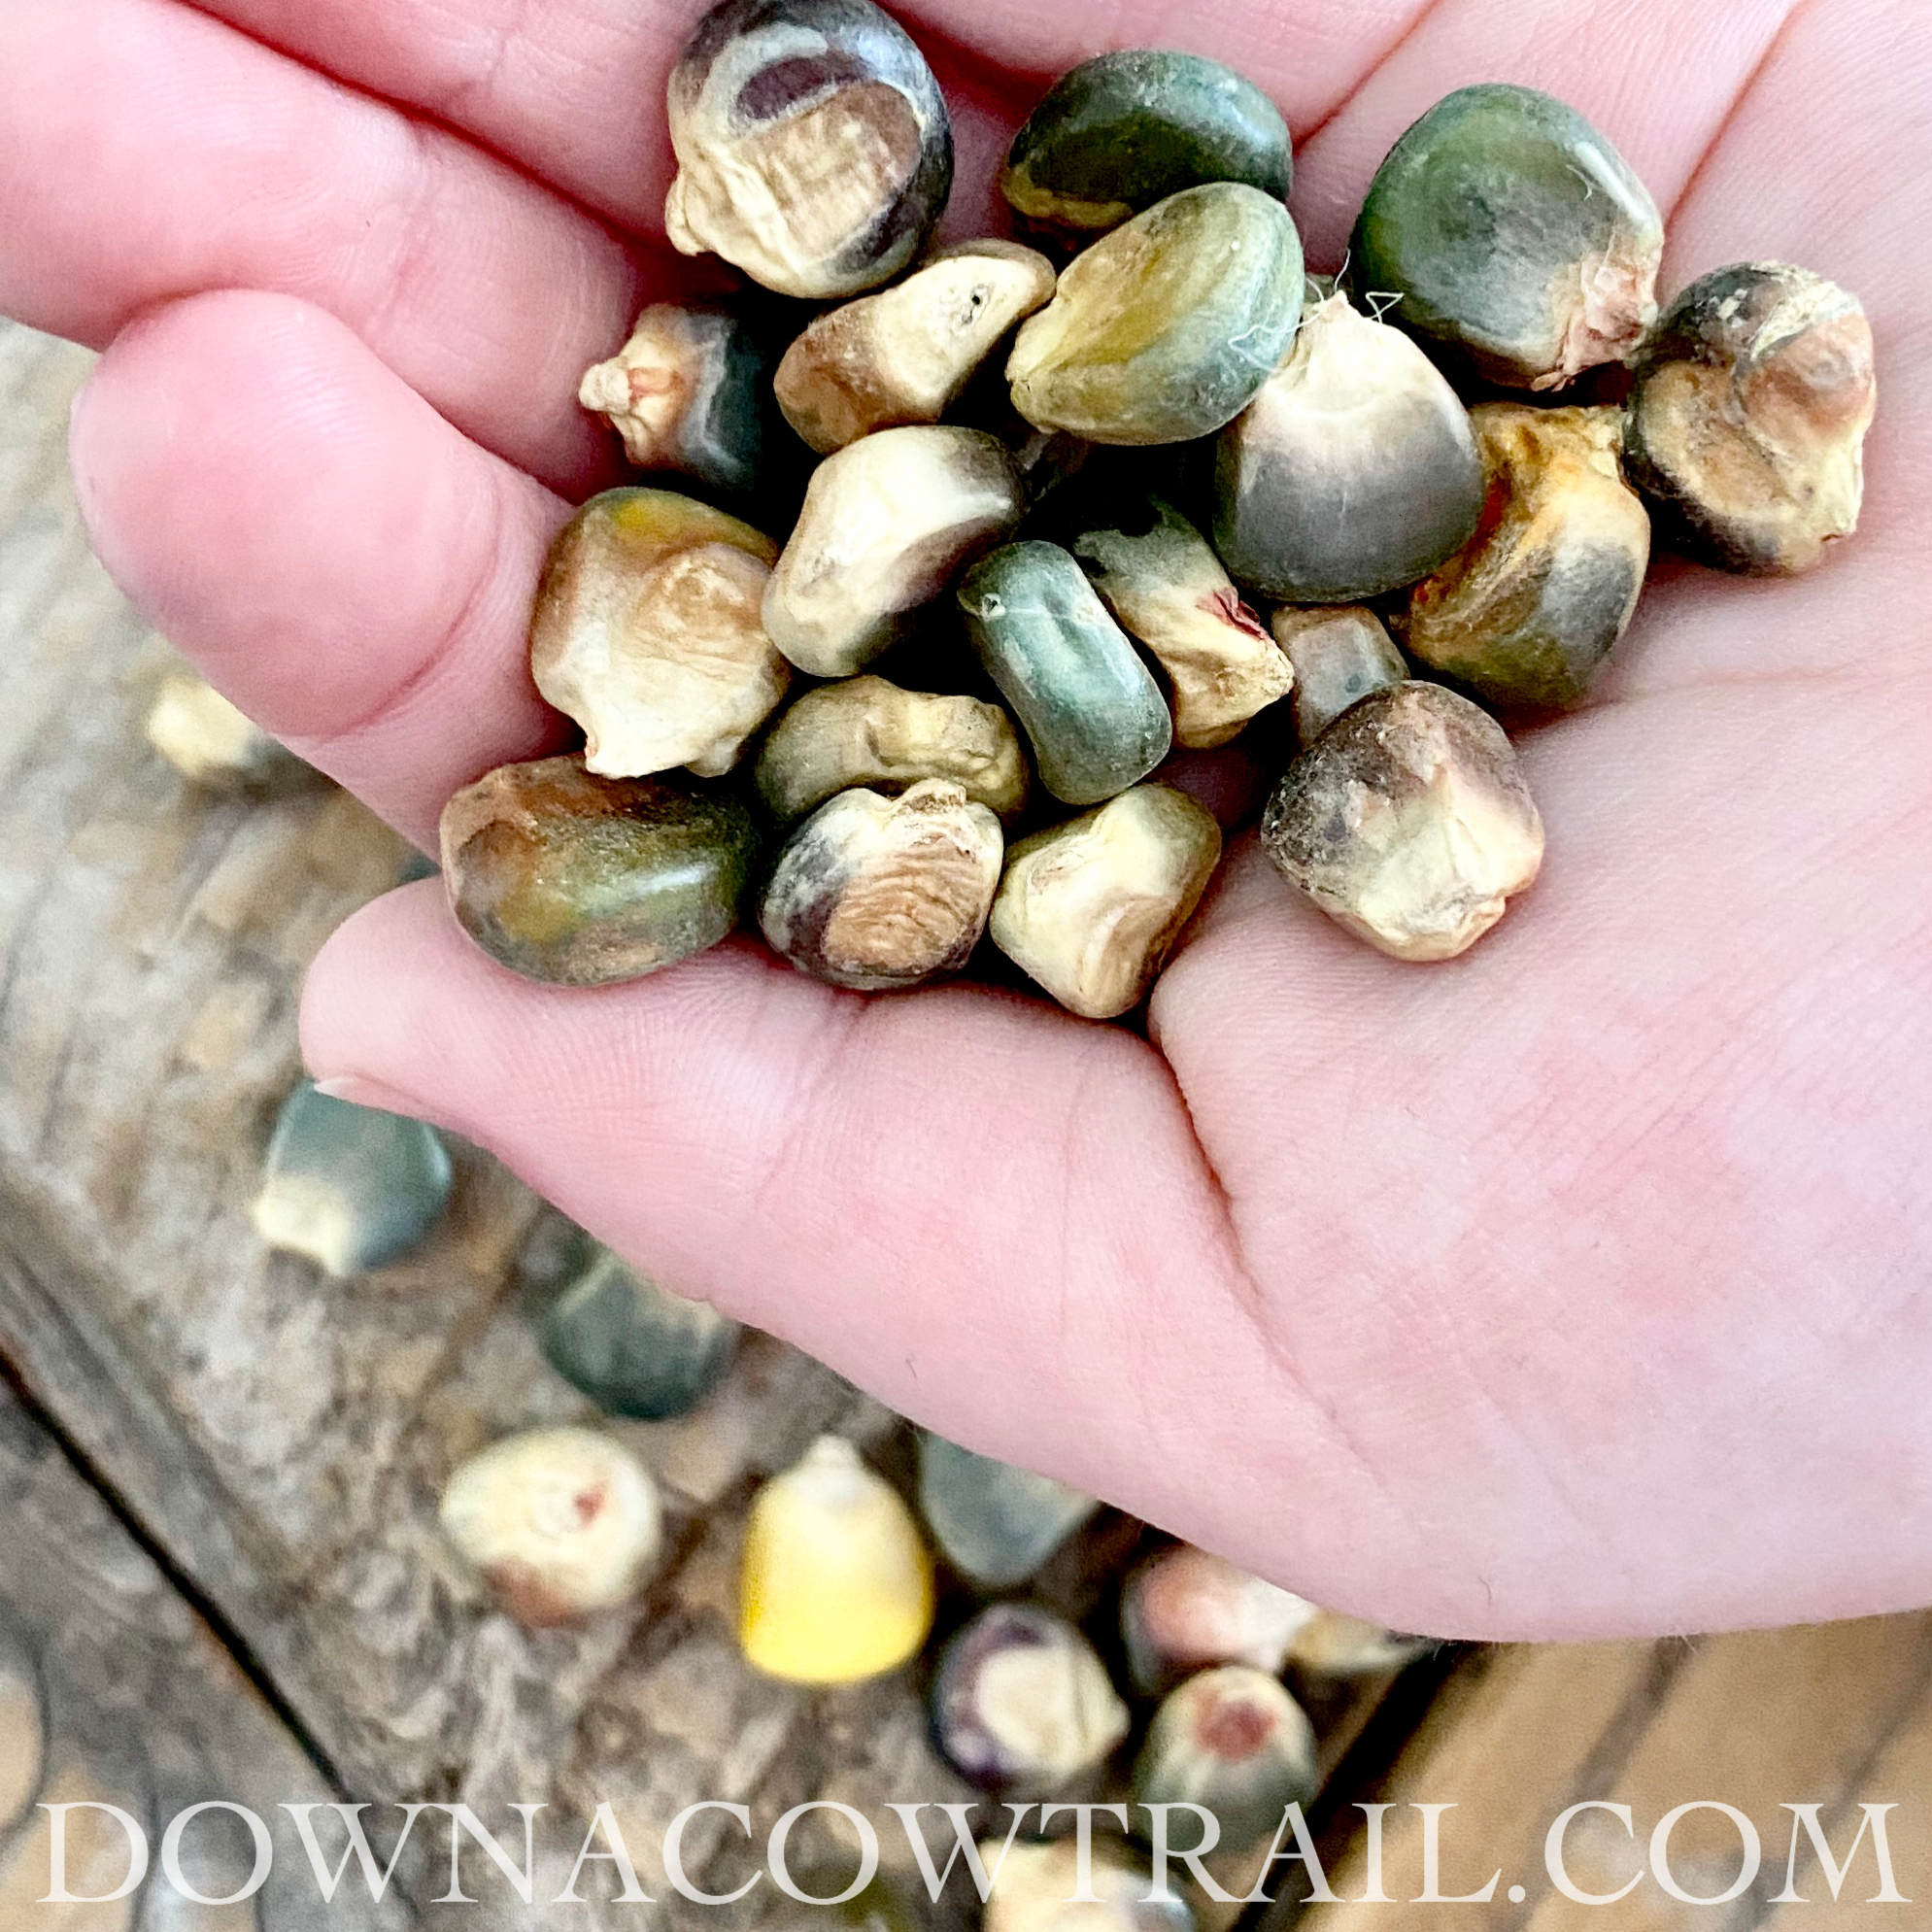 My Favorite Heirloom Vegetable Seeds
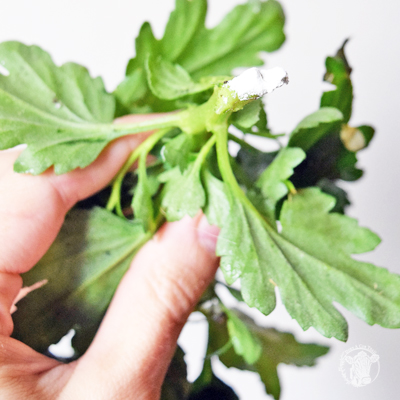 Propagate Chrysanthemums From Cuttings
 Halter Breaking A Cow (And Calf)
I know this is an older post, but I went searching for an update and couldn’t find one. So what did/do you do with your 2nd bin with the holes in it? Ty!
Amanda,
I haven’t written an update yet…sorry! The second bin was for transferring the worms over to fresh bedding when the first bin is full. Hopefully you have success with your worms!
How many worms did you put in a setup that size?
I had 2,500 worms in this bin system. Hope that helps!