This post may contain affiliate links. I may earn an affiliate commission if you click on a link and purchase an item at no additional cost to you. All opinions are my own.

Pressure canned black beans are one of the easiest foods to preserve. Minimum labor, simple ingredients, and they are so delicious!
Important note: You MUST use a pressure canner with beans because they are a low acid food. A pressure canner heats the food high enough to kill any bacteria that could cause things such as botulism.
I purchase dried beans in bulk from Azure Standard. I then store any extra beans in a gamma lid sealed bucket for later canning. You can use this tutorial for many types of dried beans. My favorites are pressure canned black beans and kidney beans.
Why can beans at home?
Does canning dried beans at home make sense? It does for me!
The only ingredients in my pressure canned black beans are beans, water, and salt. They are canned in glass jars – much safer than metal cans from the store and I can reuse my glass jars indefinitely!
There is also the huge satisfaction of knowing I canned the beans myself for my family. Keeping a large bag of dried beans on hand, I can process 12 lbs or so at a time when I need to, the rest of the dried beans will last in the sealed bucket.
How many black beans do I need?
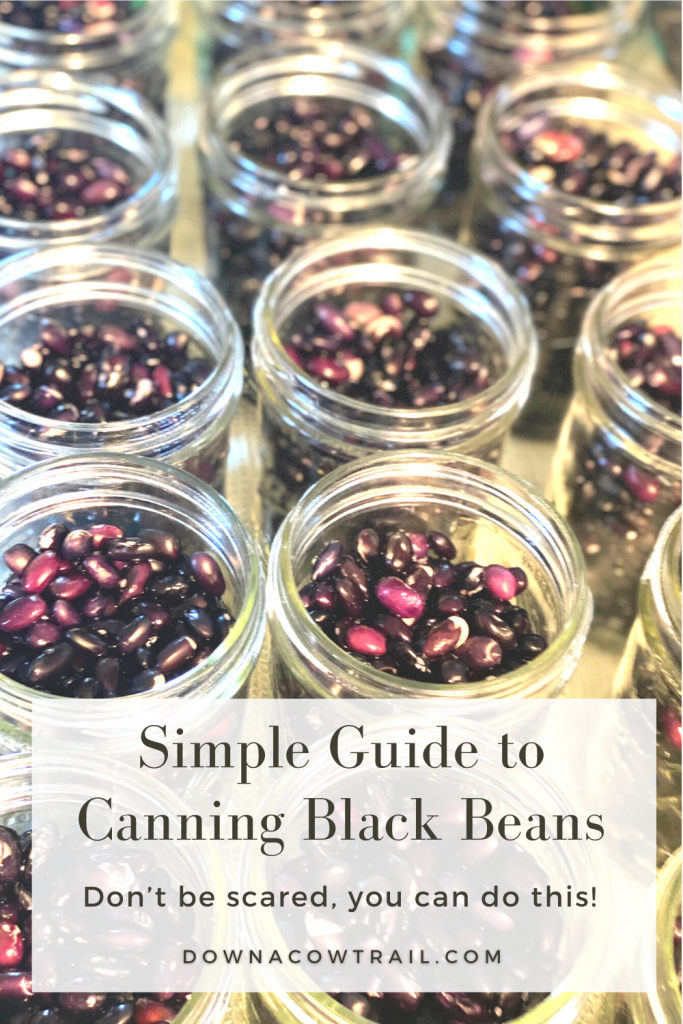
For this last batch of pressure canned black beans, I used 12 lbs of dry beans for roughly 42 pints of canned black beans.
12lbs of dried beans cost $19 through Azure Standard.
This came out to about $1.58 per pound of dried beans.
So figuring the 12 lbs of beans made 42 pints, my cost came out to about $.45 per pint of home canned beans. Each pint jar is 16oz capacity.This is not including the cost of jars/lids/rings. Ideally you would have your own jars and rings, the only thing to purchase would be the lids. I would love to try the reusable lids from Tattler, I just haven’t yet! When I do I’ll let you know how that goes!
For cost reference, at Costco the 15oz cans of black beans are $1 each.
How many jars can fit in my canner?
How many jars you can fit depends on the size of your canner, it also depends on the size of jars you’re using. I like to use wide mouth pint or quart jars for beans. They usually need a little help out of the jar and it’s easier to get them out with wide mouth. If you use regular mouth instead, you can fit more jars in the canner at once. It’s really personal preference.
The process

Soak beans overnight or for at least 6-8 hours. Overnight makes the most sense since you will need several hours for the canning process. (This helps remove the sugars that tend to cause gassiness!) Now is a great time to pull out any bad beans or pebbles/debris that may have made it into your beans when they were harvested.
Wash all jars, lids, and rings with warm soapy water that night too. It’ll give you a jump start on the morning. This is the best time to inspect your jars for cracks and chips. You want to do this carefully as anything with a defect or crack may break in your pressure canner or may not seal properly. You certainly don’t want that!
Sterilize

In the morning, place your clean washed jars in your water bath canner and heat to a boil for 10 min. While some may skip this (because pressure canning does sterilize jars while processing) I still like to take this extra step to make sure everything is EXTRA clean.
If you are doing a big batch and double layering your canner, then all of your jars won’t likely fit in your water bath for sterilization. I sterilize 8 at a time and then put them in a 200° oven to stay hot while I sterilize the next set of jars.
Prep lids and rings
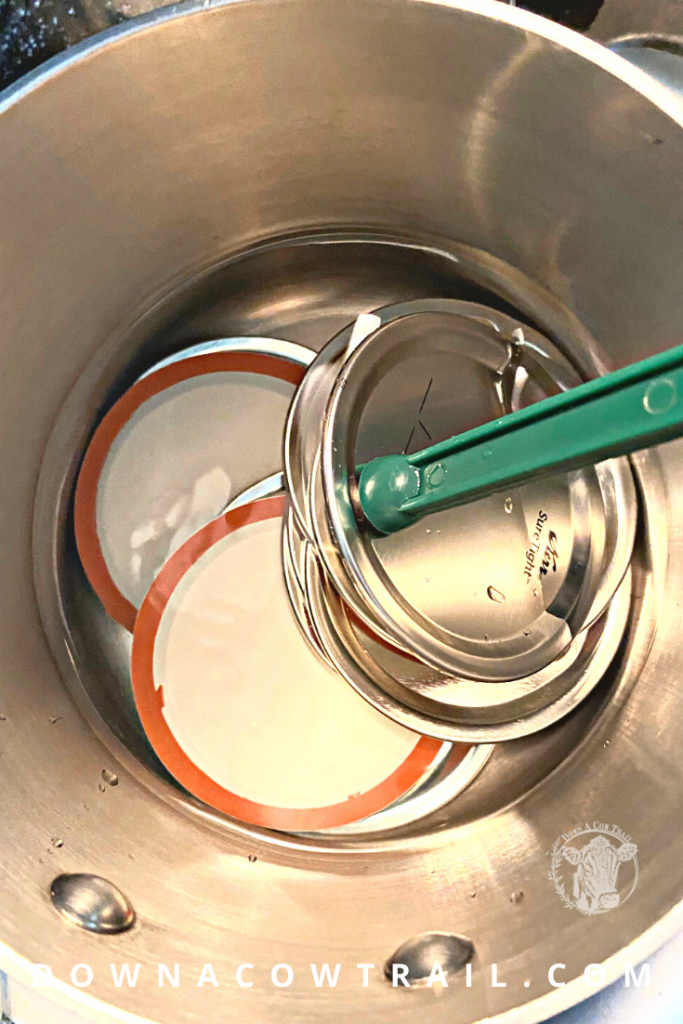
Add water to a medium stainless steel pot and bring to a boil. Add your rings and lids to this to sterilize (Same thing – I may be overly cautious, but better safe than botulism!) You will also use this boiled water to fill your jars.
Very important step! While your jars are sterilizing, drain and rinse your beans with a colander. Draining the liquid they soaked in all night will help reduce the sugars (and gassiness!) Be careful in this process not to break apart the beans as they become more delicate after they’re soaked.
Add salt and beans

If you’re adding salt (I always do) now is the time. With your freshly sterilized hot jars sitting on a towel on the counter (don’t burn your hands!), add 1/2 tsp canning salt to each pint, or 1 tsp to each quart.
Place your funnel on top of each jar and scoop the rinsed beans into the jars leaving 1” headspace. ‘Headspace’ simply means the amount of space between the top of the beans/water and the top rim of the jar. Headspace is very important for proper sealing, especially with something like beans that will expand while they process. Too much headspace and the extra air will create a problem, not enough airspace and you may end up with beans trying to escape out of the top!
Add hot water and release the bubbles
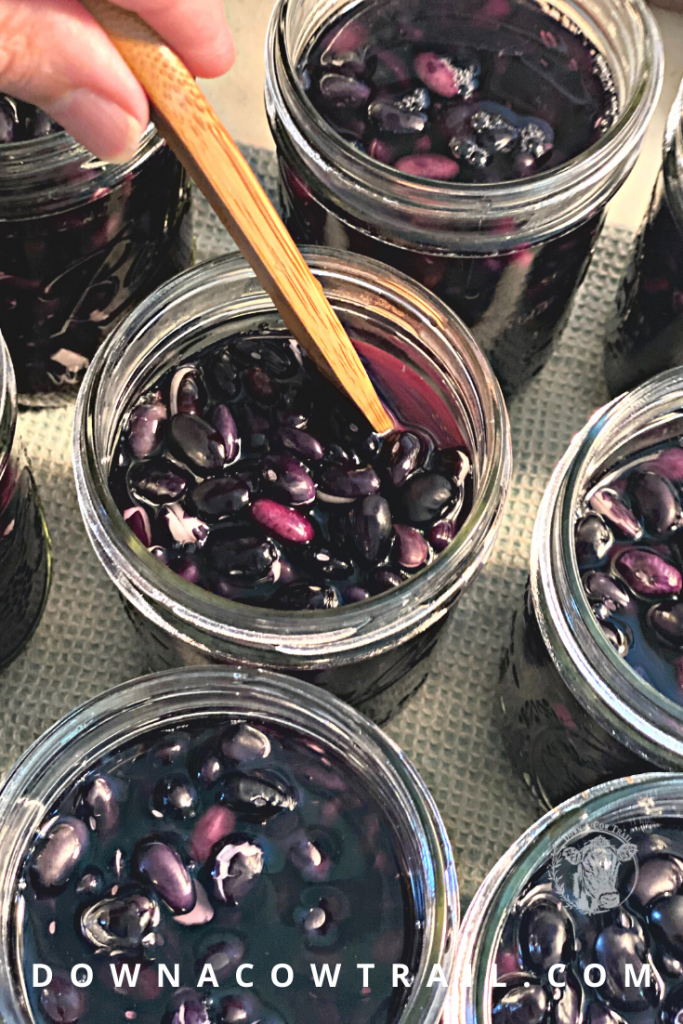
After you’ve added all of the beans, ladle the hot water into the jars maintaining that 1” headspace.
Use a wooden or plastic tool to slide down along the sides of the beans to release any hidden air bubbles that could impede a proper seal. Do this gently.
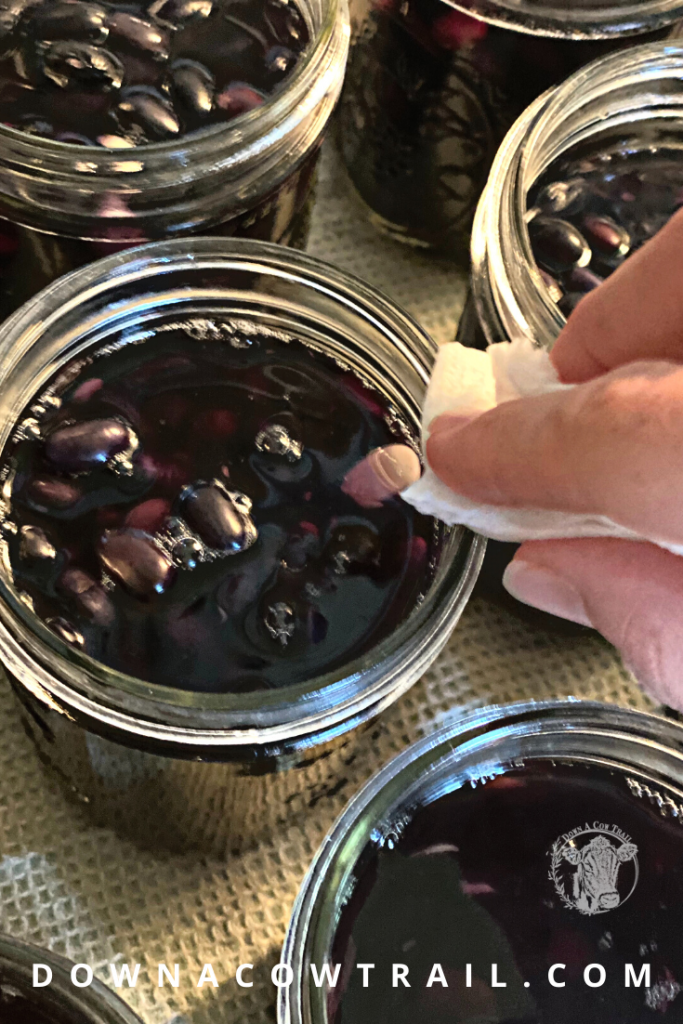
Wipe each rim with a clean cloth making sure there is no bean residue on the edges. I usually dip a clean cloth in the boiled water to wipe the rim.
Screw on lids and rings
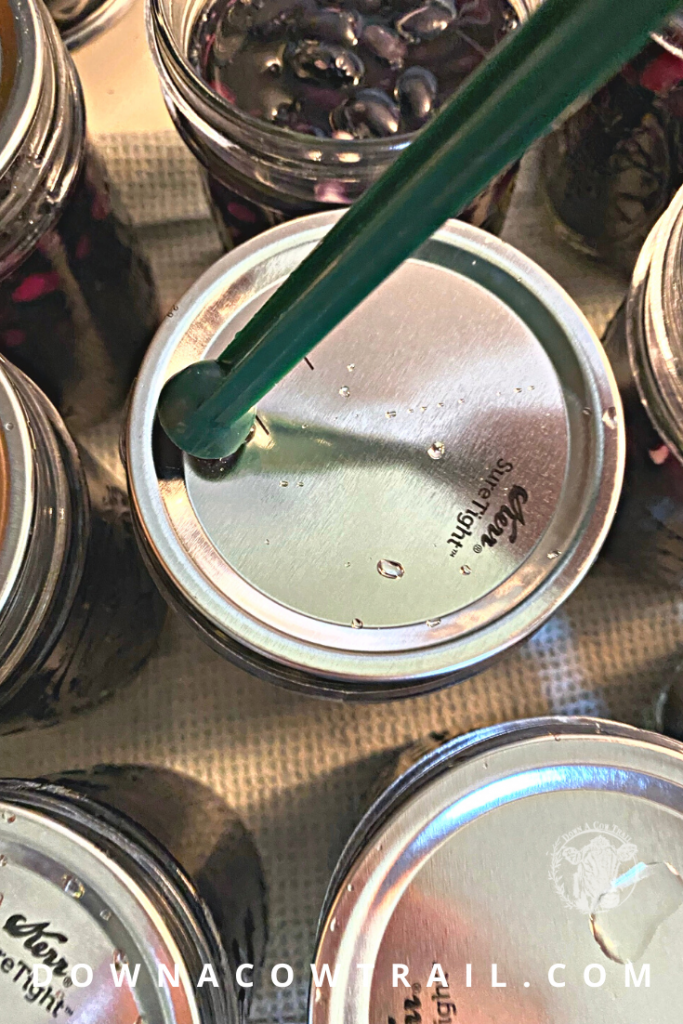
Now it’s time to put on the lids. Using your magnetic stick, lift each lid and ring out of the hot water and place on the jars screwing down till ‘fingertip tight’ – meaning don’t crank on it. It’s important to do it fingertip tight because during the pressure canning process air does need to be able to escape for proper sealing.
Prepare your pressure canner
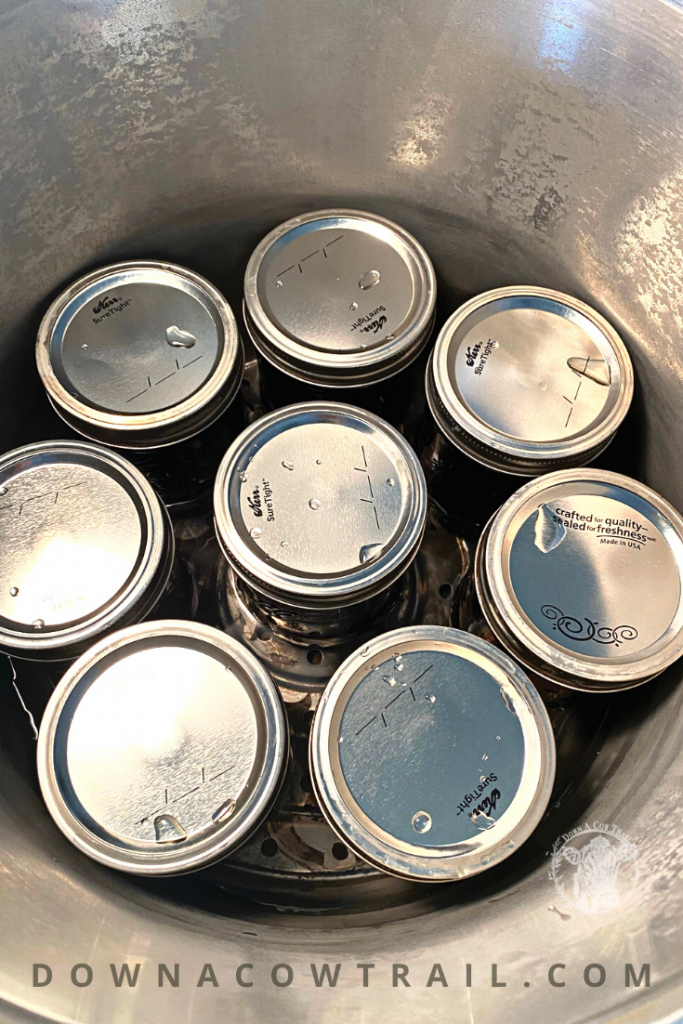
Your canner should have at least 1” of water in the bottom. I’d measure to make sure. You don’t want your canner running dry during processing! But also don’t overfill! The bottom layer of jars need to be sitting in water, not covered in it. I don’t ever add more than 1.5-2” of water in the bottom.
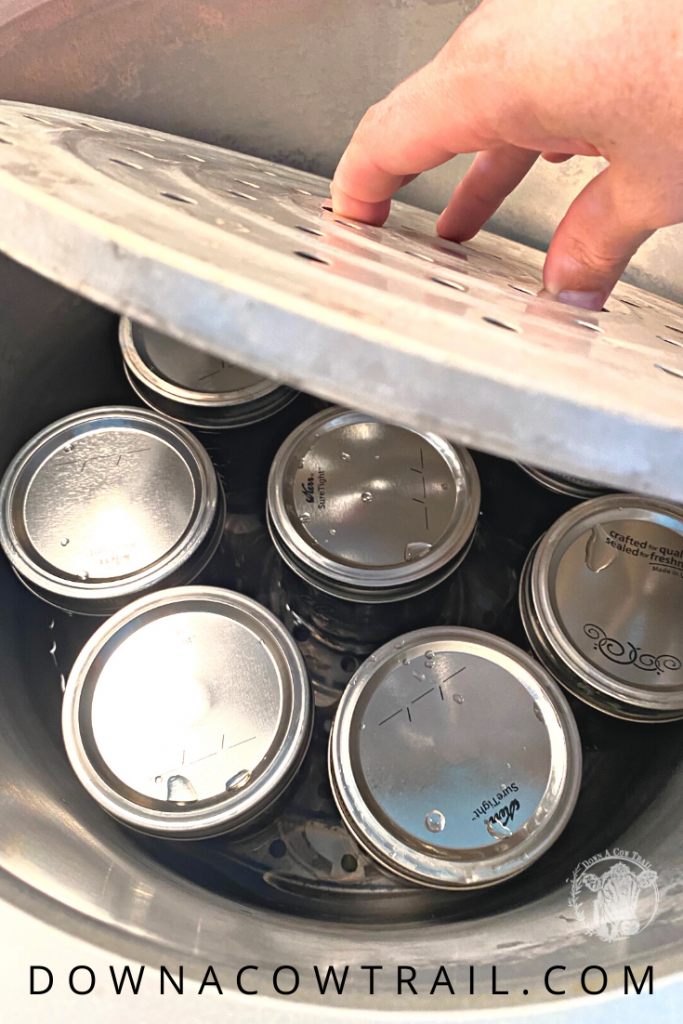
Place each jar carefully in the canner. Make sure you have the bottom tray in place. The jars should never sit directly on the bottom of the canner. If doing two layers of jars (I usually do my pints in two layers), place the second metal tray on top of the first layer of jars and then carefully place your jars on top.
Seal the lid
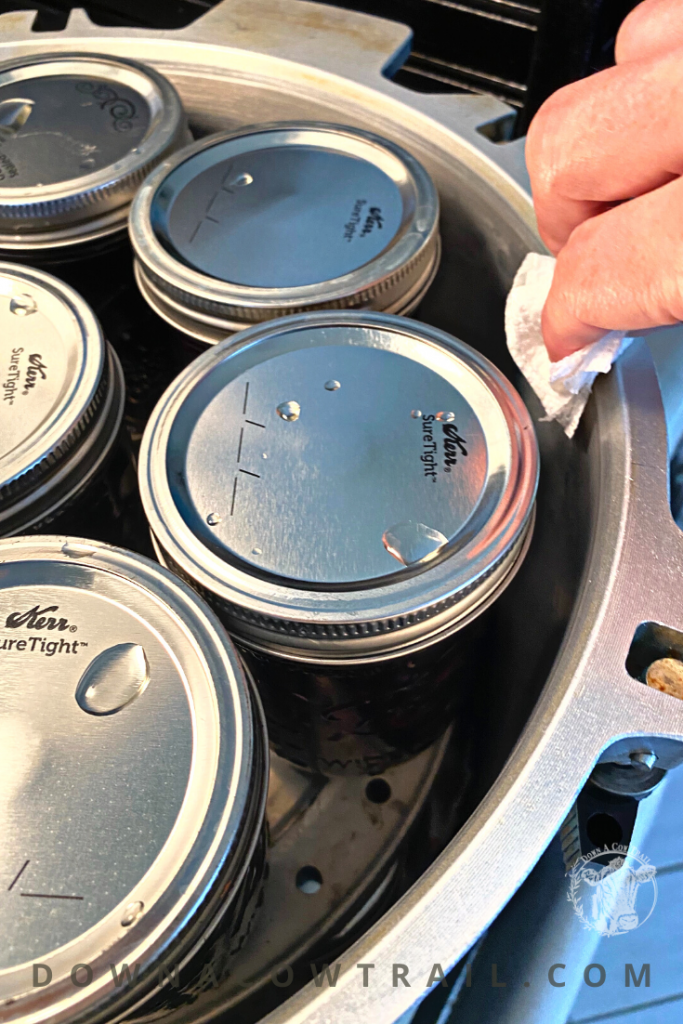
Now it’s time to seal the lid! My All-American canner does not have a rubber gasket, it is metal on metal. I always wipe a little olive oil on the rim to make sure there is a proper seal (my mother always has done this, so I do as well!)
Vent first
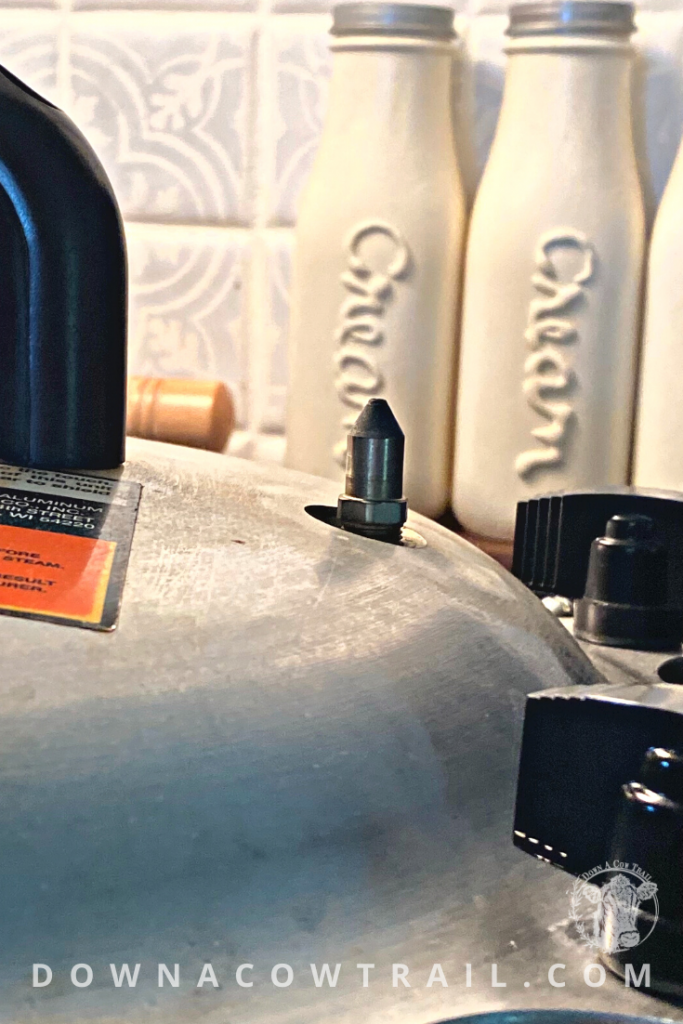
Check the vent on the lid and make sure it is clear from any buildup (you should be able to look through it and see light.) Place the lid on and tighten the fasteners opposite each other (don’t tighten around in a circle, you want the lid to be as level as possible.) Your canner may have a different way of securing the lid. Always make sure you read your instruction manual before use!
Make sure you don’t have the regulator weight on the vent, it needs to vent freely at first.
Turn on the heat and watch (or rather listen to) the vent. Once you see (and hear) a steady stream of steam coming from the vent, set a timer for 10 minutes and let it vent.
Add the regulator weight
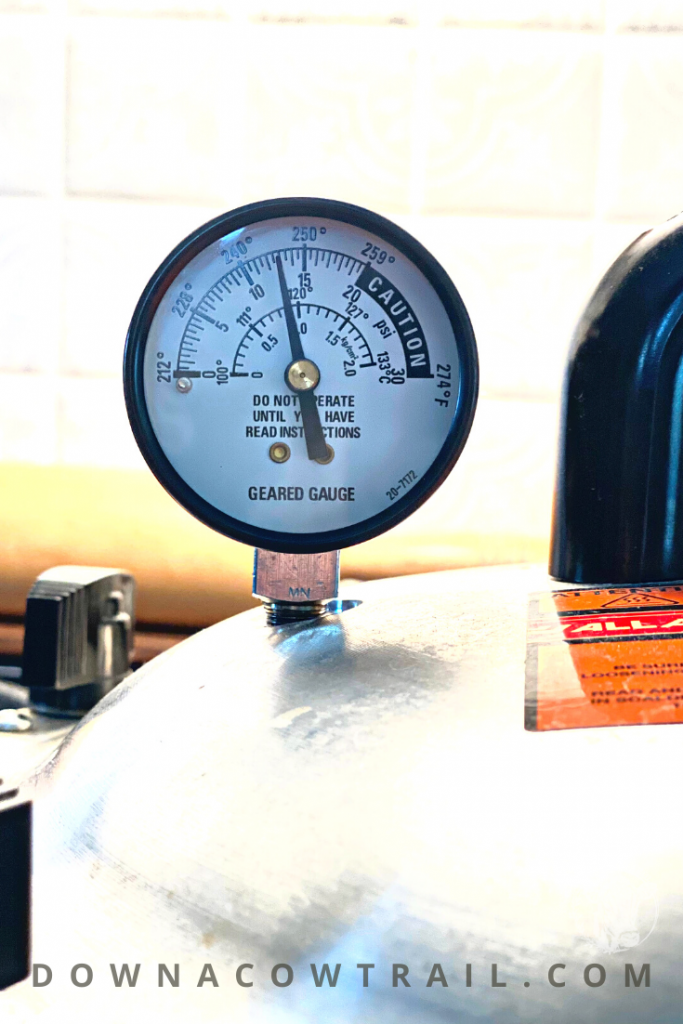
After 10 minutes, place the regulator weight over the vent using the appropriate pressure for your altitude (you can find this in your canner’s instruction manual.) Make sure not to burn yourself on the steam!
Once the canner reaches the correct pressure the weight will start to jiggle. Start your timer now for 75 min for pints or 90 min for quarts.
I usually turn the heat down a tad at this point. You want the weight to jiggle once every minute or so, but not constantly. Where we live, we are over 1,000 above sea level, so I use 15 lbs of pressure. On the gauge I like to keep it halfway between 10-15 lbs of pressure, never letting it drop below 10 and definitely never letting it get above 15 (you don’t want to blow up your canner!)
Never leave your canner unattended!
I NEVER go out of earshot off my canner while it’s processing. Find something in the kitchen to do while you’re waiting or somewhere that you can hear the weight jiggling (no vacuuming, etc. you need to hear it!) While you’re waiting you can make a lovely batch of my turmeric hot cocoa to sip on!
I usually have to adjust the temp down every so often as the pressure increases. This may sound scary, but after a few rounds of canning you’ll feel more comfortable, I promise!
Turn off the heat
When it is done processing, turn off the heat and let it sit. Do not remove the regulator weight at this point, leave it on. It needs to come down in pressure very slowly for the jars to seal properly.
Now you can safely walk away for a bit and know you’re almost done!
Carefully remove the weight
Once the gauge reads zero, using an oven mitt (that baby is still piping hot!) remove the weight from the vent and let it finish venting. Once there’s is no more steam coming out of the vent, with your oven mitts still on, carefully unscrew the fasteners. Open the lid away from you as the steam is very hot!
Remove each jar with your jar lifter, and place them on a clean towel, being careful not to bump them together. The beans are still boiling inside the jars (which is fun to see), so make sure to keep little hands away!
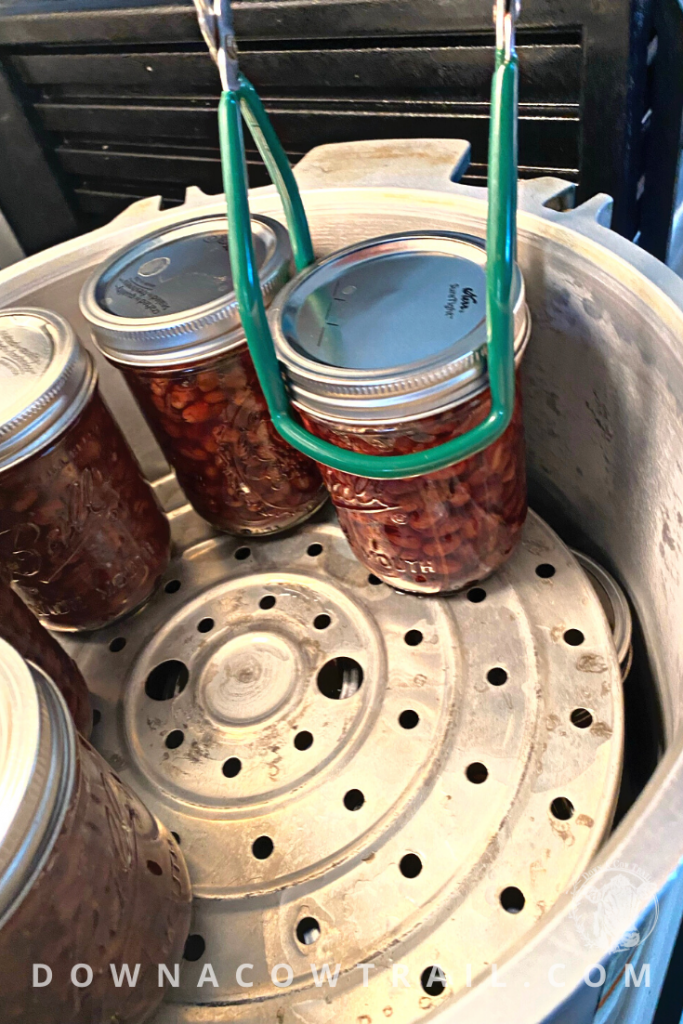
Let them cool for 24 hrs then remove the rings and label the jars!
You’re done! Congrats! The process is very similar in most pressure canning, so once you get the hang of it it’ll get easier!
Note: I always reheat my pressure canned black beans before eating, just to be on the safe side!
Keep an eye out later this week for my tutorials on pressure canning beets and carrots!
Until next time…Happy trails!
Tiffany
 The Pied Piper on a White Horse
 Beware of Blister Beetles
 Pressure Canning Beets – A Simple Guide
 Propagate Lavender from Cuttings
Good afternoon Tiffany,
Which salt do you use in your canning? Is there a brand that you prefer?
Thank you,
Cindy
I tried this yesterday. The process went perfectly, except that most of the jars no longer have any liquid in them once they cooled. Is that ok?