This post may contain affiliate links. I may earn an affiliate commission if you click on a link and purchase an item at no additional cost to you. All opinions are my own.
Mmmmm Garlic
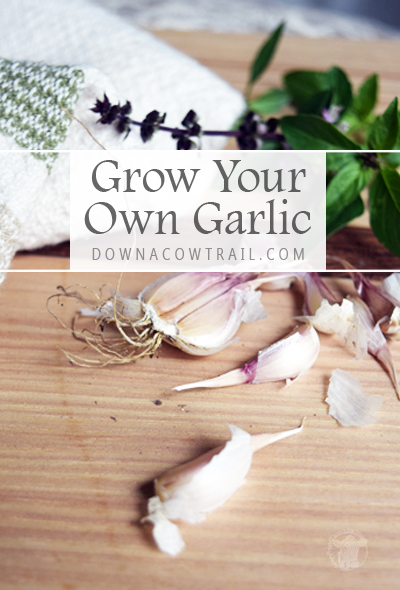
It’s already that time of year start to grow heirloom garlic in your own garden! In 2011, I bought heirloom Persian Star seed garlic from Seed Savers Exchange and I still have the same garlic that I replant every year. I’ve even passed extra bulbs on to friends and family here in Nebraska. It is extremely flavorful and oily. Perfect for sautéed veggies and chicken.
I have also recently bought Inchelium Red Garlic from Baker Creek Heirloom Seeds. I love adding diversity to my garden and seeing how different varieties perform.
(Before I go on, be sure to follow me on Pinterest and Instagram!)
Garlic is one of the easiest and most maintenance-free vegetables to grow. You plant it in the fall, water in the spring and early summer, let it dry out mid-summer, and harvest late summer! Okay, so there’s a little more to it than that, but still, it’s really easy.
You can grab my free Seed Inventory Tracker here!
Easy Steps to Grow Heirloom Garlic
1.) Plant in September – November. Find a spot that will get plenty of sun with well drained soil. I prefer planting it by itself since you will need to let the soil dry out mid-summer. If you plant it in a flower bed your flowers may get a little thirsty when it comes mid-summer and time to let it dry out (ahem…I may have learned from experience).
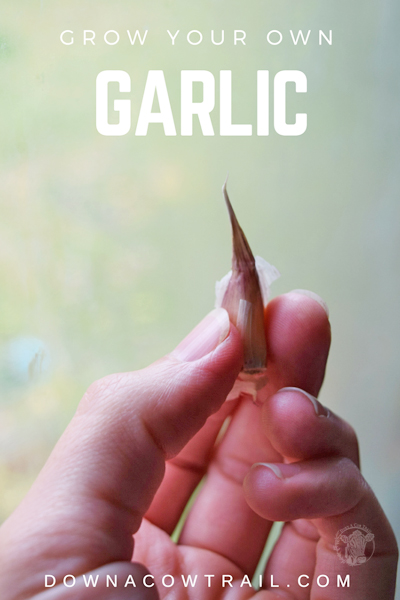
2.) Next, take your garlic bulbs and gently break them apart. Each clove will grow one bulb. Don’t peel the garlic, try to handle them as little as possible.
Cover and Mulch
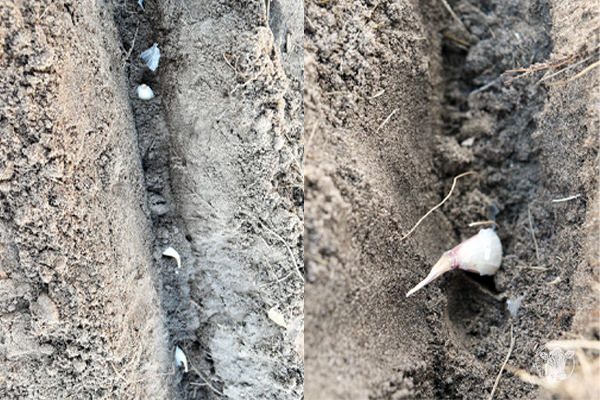
3.) Dig a trench 3″ deep. Plant the cloves 6-8″ apart pointy side up. Cover with soil and then be sure to put a good 6″ of mulch on top. You want your garlic to be nice and cozy all winter long! I prefer using a mixture of grass clippings and leaves. Thanks to our giant and beautiful cottonwoods, we have plenty of both considering our lawn is usually one gigantic leaf pile by late October.
4.) After you’ve mulched your garlic. Leave it until spring. Garlic likes about 1″ of water per week. Living in the Sandhills, our soil is, well, sand. So it drains very well. I grew up in a river valley in Washington where we always said that we farmed rocks.
I’m loving the sand, although it does have its own challenges. One in particular is that it drains SO well that it loses nutrients very quickly. I have plans on adding biochar eventually and of course worm castings! It will be a continual process for me for sure. Most plants do like well draining soil though, so at least that’s a perk! Be sure and keep the garlic free of weeds. They don’t like competition.
Cut the water
5.) Stop watering the garlic when half of the leaves have lost their color and turned brown. The timing of this depends a lot on your weather, variety, and zone. For me it ‘s usually June/July.
6.) As the garlic matures, you’ll see what are called “scapes”. These are thick stems that curl around and form a seed pod. You’ll want to cut them off when they get about 8-10″ long. This allows the plant’s energy to go back to forming the bulb and not creating seeds. Scapes are quite tasty and add wonderful flavor to savory dishes.
Harvest Time!
7.) When the garlic begins dying back (usually 1-2 weeks after you cut the water) it is time to harvest! There should still be 4-5 green leaves left, so keep an eye on it! Gently use a spading fork to dig up your garlic, and use kid gloves! You don’t want to bruise them!
8.) You can now loosely braid the leaves with a cluster of up to a dozen garlic bulbs. Let them hang to dry for several weeks in a cool dry space, such as your basement or garage. Be sure and separate your best and biggest bulbs for replanting. Replant your saved garlic again in the fall, and the self-sustaining cycle continues!
There you go! See how easy it is to grow heirloom garlic? Give it a try and have fresh garlic straight from your garden!
Happy Trails!
Tiffany
 My Favorite Heirloom Vegetable Seeds
 Hügelkultur
 Wood Raised Beds
 Simple DIY Peony Supports